Operation free the electrons
6 Nov 2026 · UGreen Nexode 300W, Charger, UGreen, USB C, X783
Account... we don't need an account .
Mrs T has been asking for USB power in the family room for a while, it's taken me ages to settle on the solution. I considered USBs on the plug sockets, these are great for phones, but each of our laptops have USB C charging, plug USBs don't answer that. We're pretty much full USB C at home aside from a few exceptions (I'm looking at you Ring doorbell), so only having 2 sockets is fine for most of the time, but that time you need more...faff.
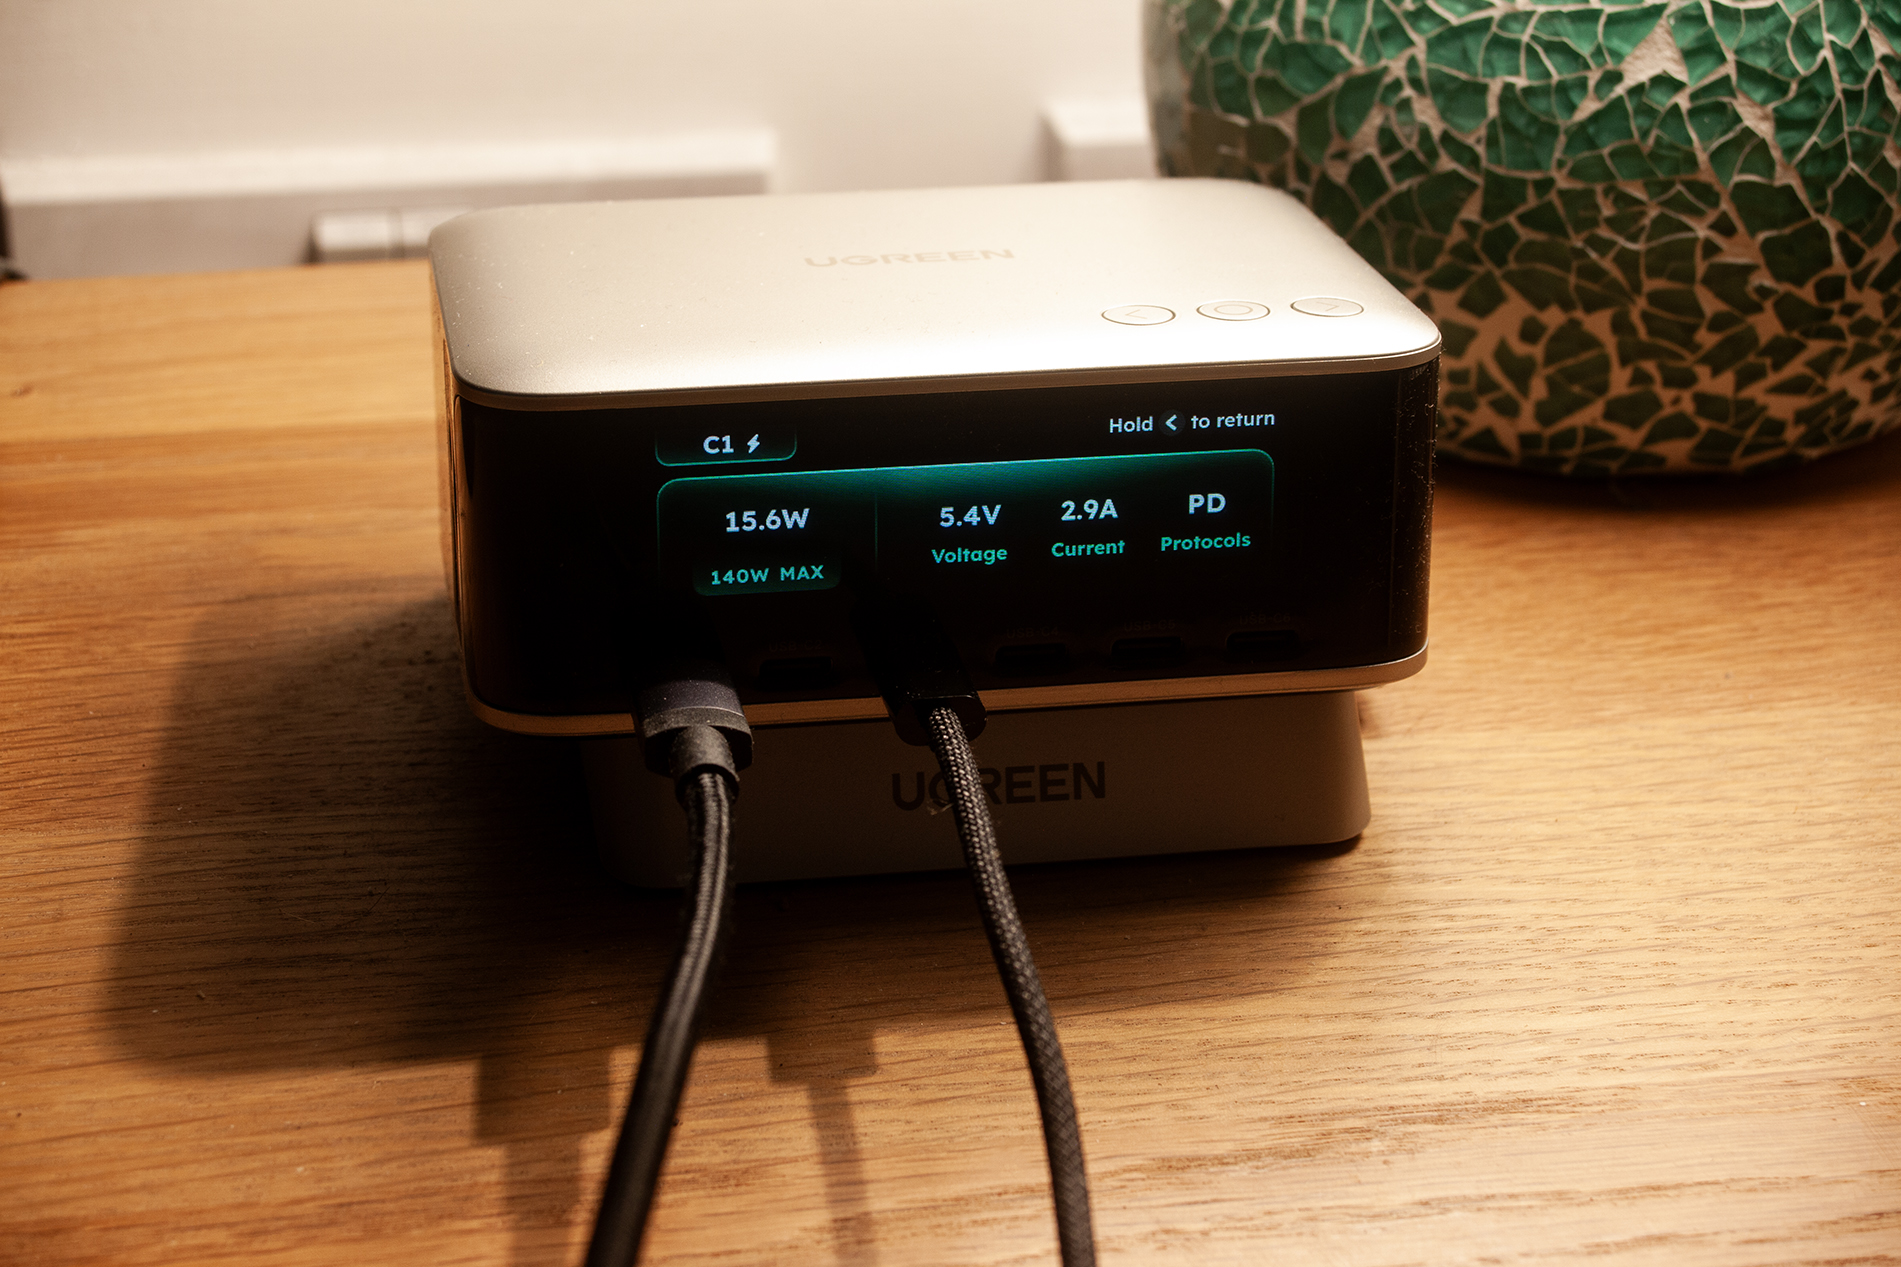
I've got a few bits of UGreen tech at home and I'm impressed with em. After far too much thought about a charger I settled on the Nexode X783 8 port 300W. It puts out up to 140W on the USB C ports.
On the 'face' of the charger there are 6 x USB C ports, on the side there's a USB A and DC port, round the back it connects to the mains via a C5 (clover leaf) cable. It's got a little stand thing to angle the screen if you're that way inclined (I'm that way inclined). The buttons on the top control the screen.
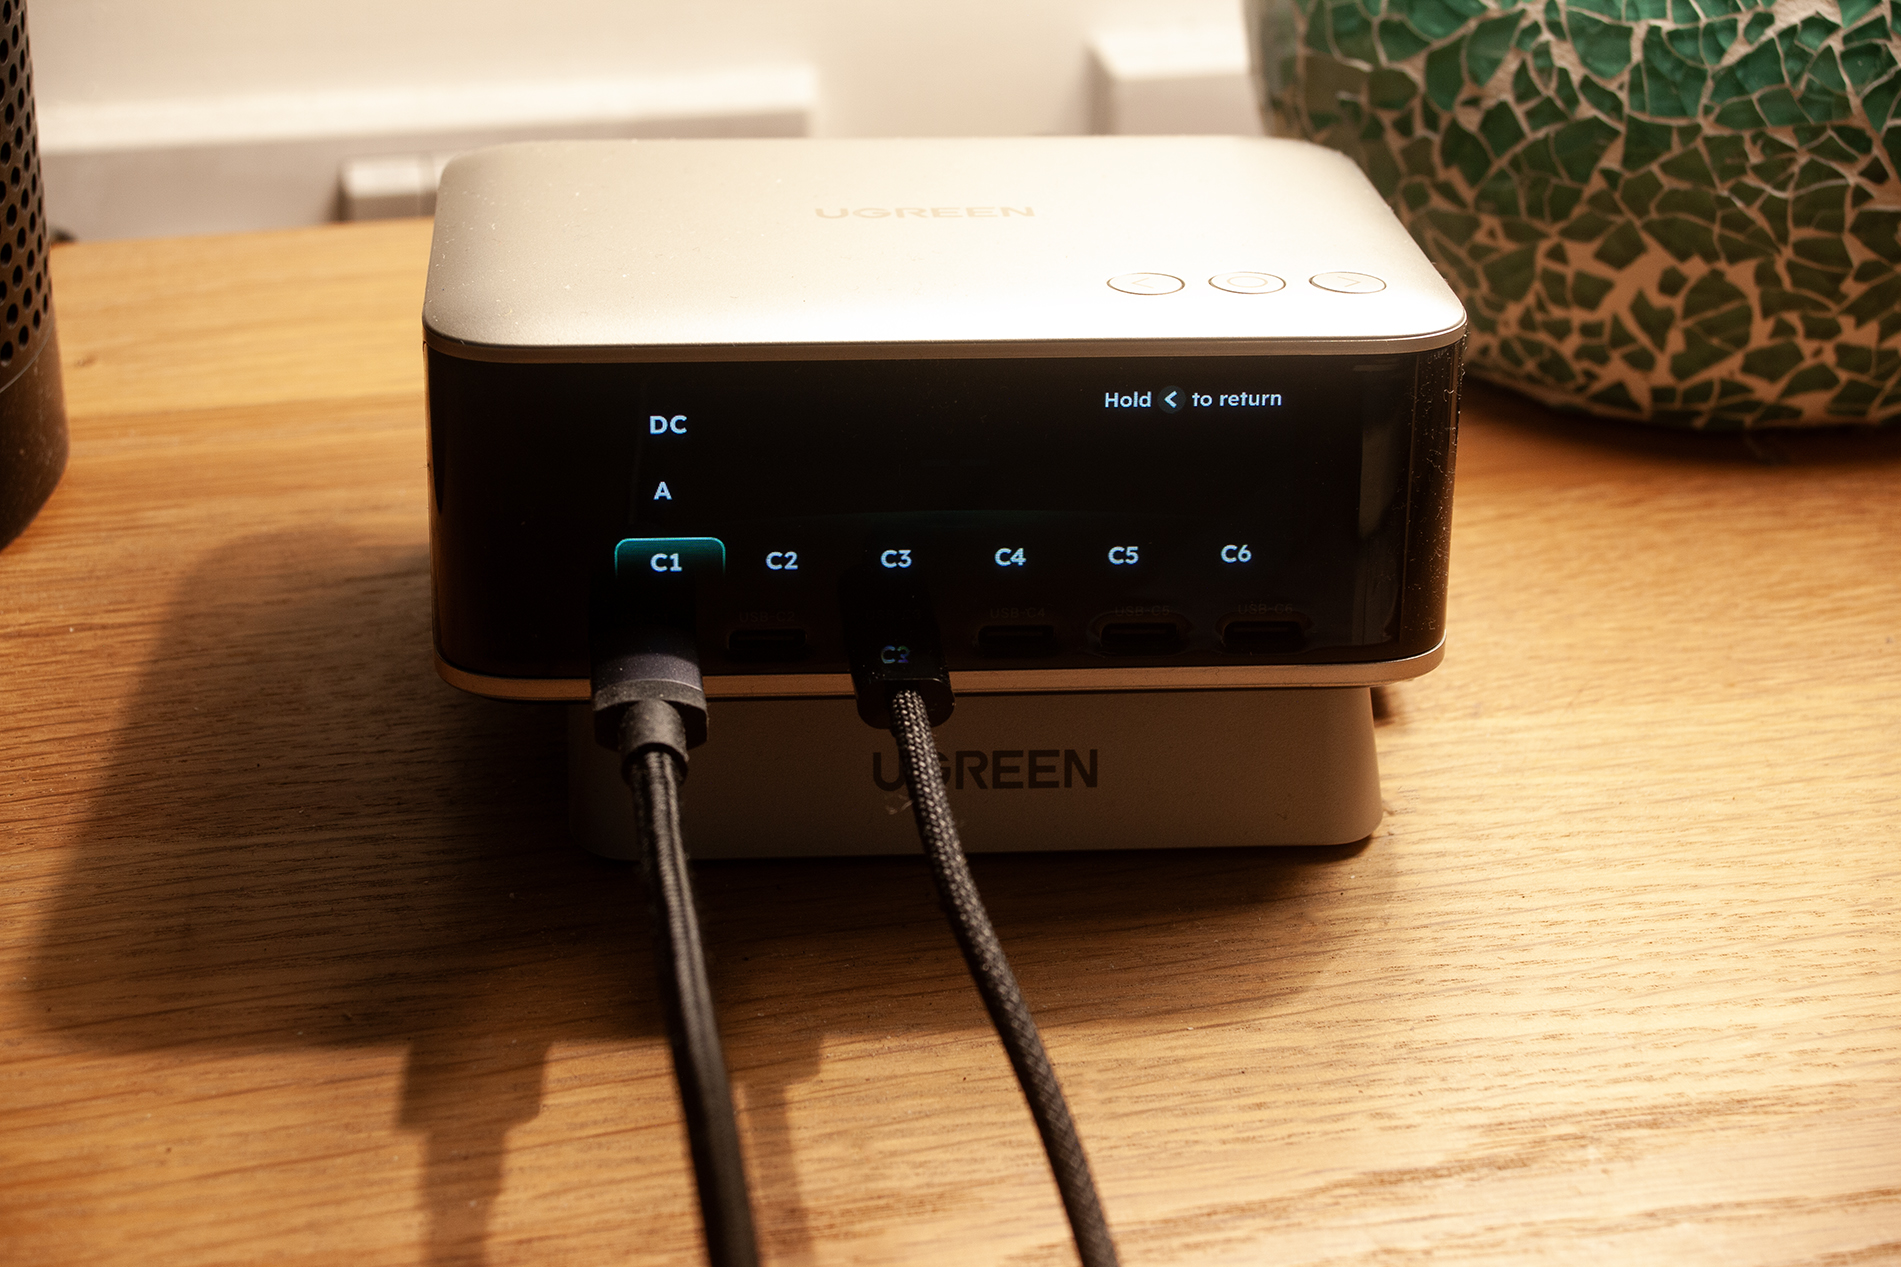
So the charger landed as expected it's a quality bit of kit. It weighs about 15KG (slight exaggeration). Plenty of ports, a screen showing power monitoring. Unfortunately, getting access to the telemetry through the intended interface meant using the app, creating an account and a whole bunch of other faff.
I wanted to show the data on my Home Assistant dashboard, for no reason other than I could. But an account, c'mon. I surely don't need to fire data to your cloud just to display it on my dashboard.
Bluetooth was the obvious starting point. I fired up the laptop and booted into Omarchy. Using the Bluetooth tools I found the charger advertising itself over BLE. It exposed a GATT service and characteristics, but the only read was DE ED BE EF, rather than the useful power readings I was hoping for.
Clearly this was going to be more of a faff than installing an app, creating an account and firing the data to the cloud then reading it from there. But the laptop was on... in for a penny, in for a pound. Plus I've been looking for a good reason to have a play with ChatGPT Daybreak Blue. Maybe poking around a charger to avoid an app and cloud services is the perfect opportunity.
(it was)
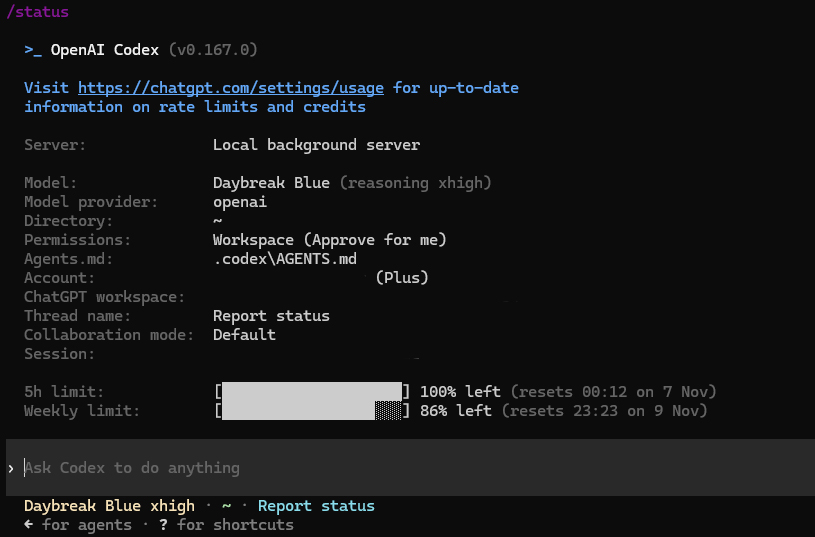
Naughty Penny reconstructed the authentication sequence, AES-encrypted messages, packet segmentation and the query used to request power data.
A few more commands and a little more poking and we had our first breakthrough, my first authenticated report: real voltage, current and wattage, decoded directly over bluetooth.
No cloud account. No login.
Happy days.
Next let's get it talking to Home Assistant.
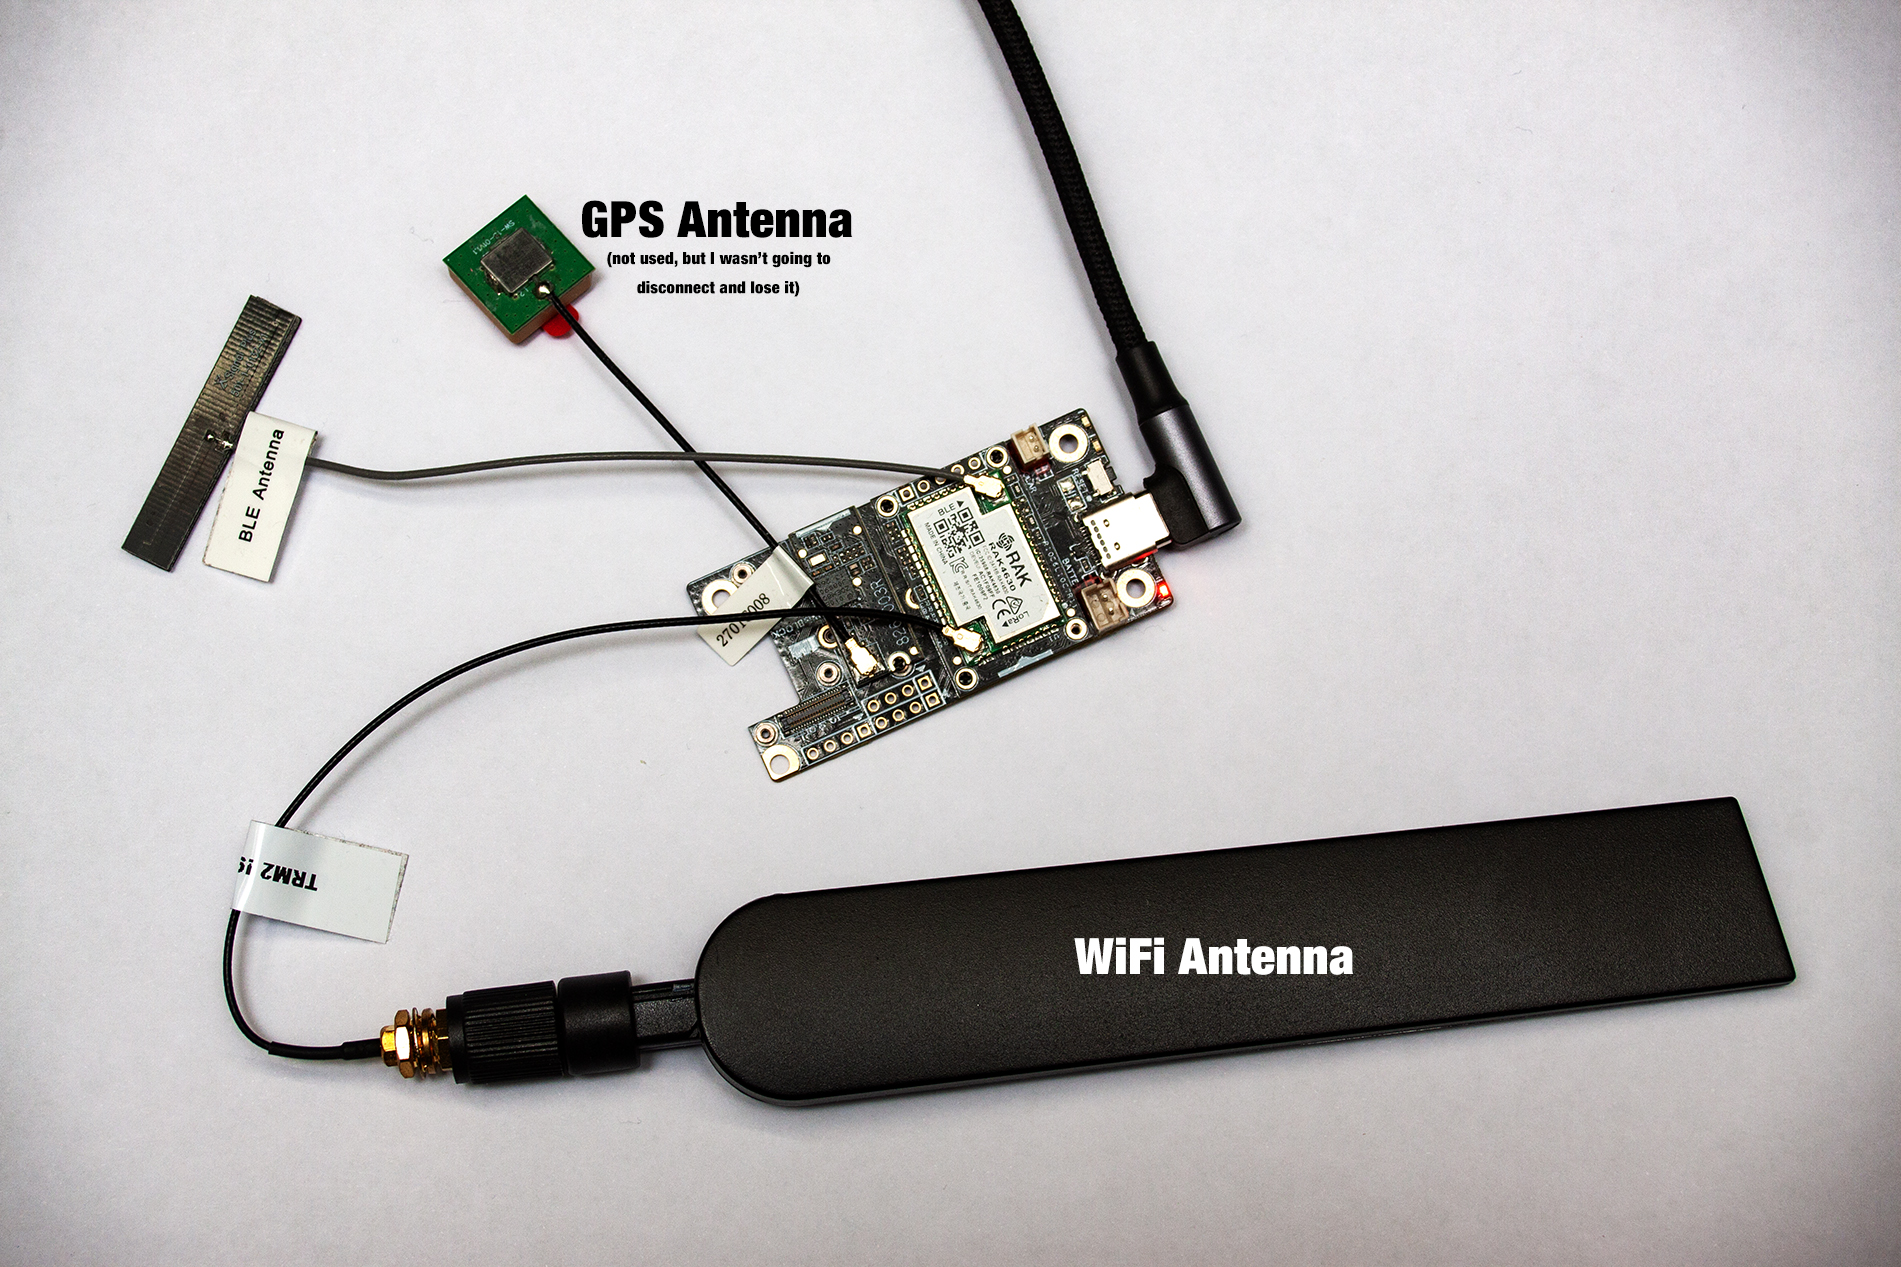
Rather than buy another device to host this on I figured my hubPi that the Ikea sensors use as a Thread border router to talk to Home Assistant would be able to double up and catch this too.
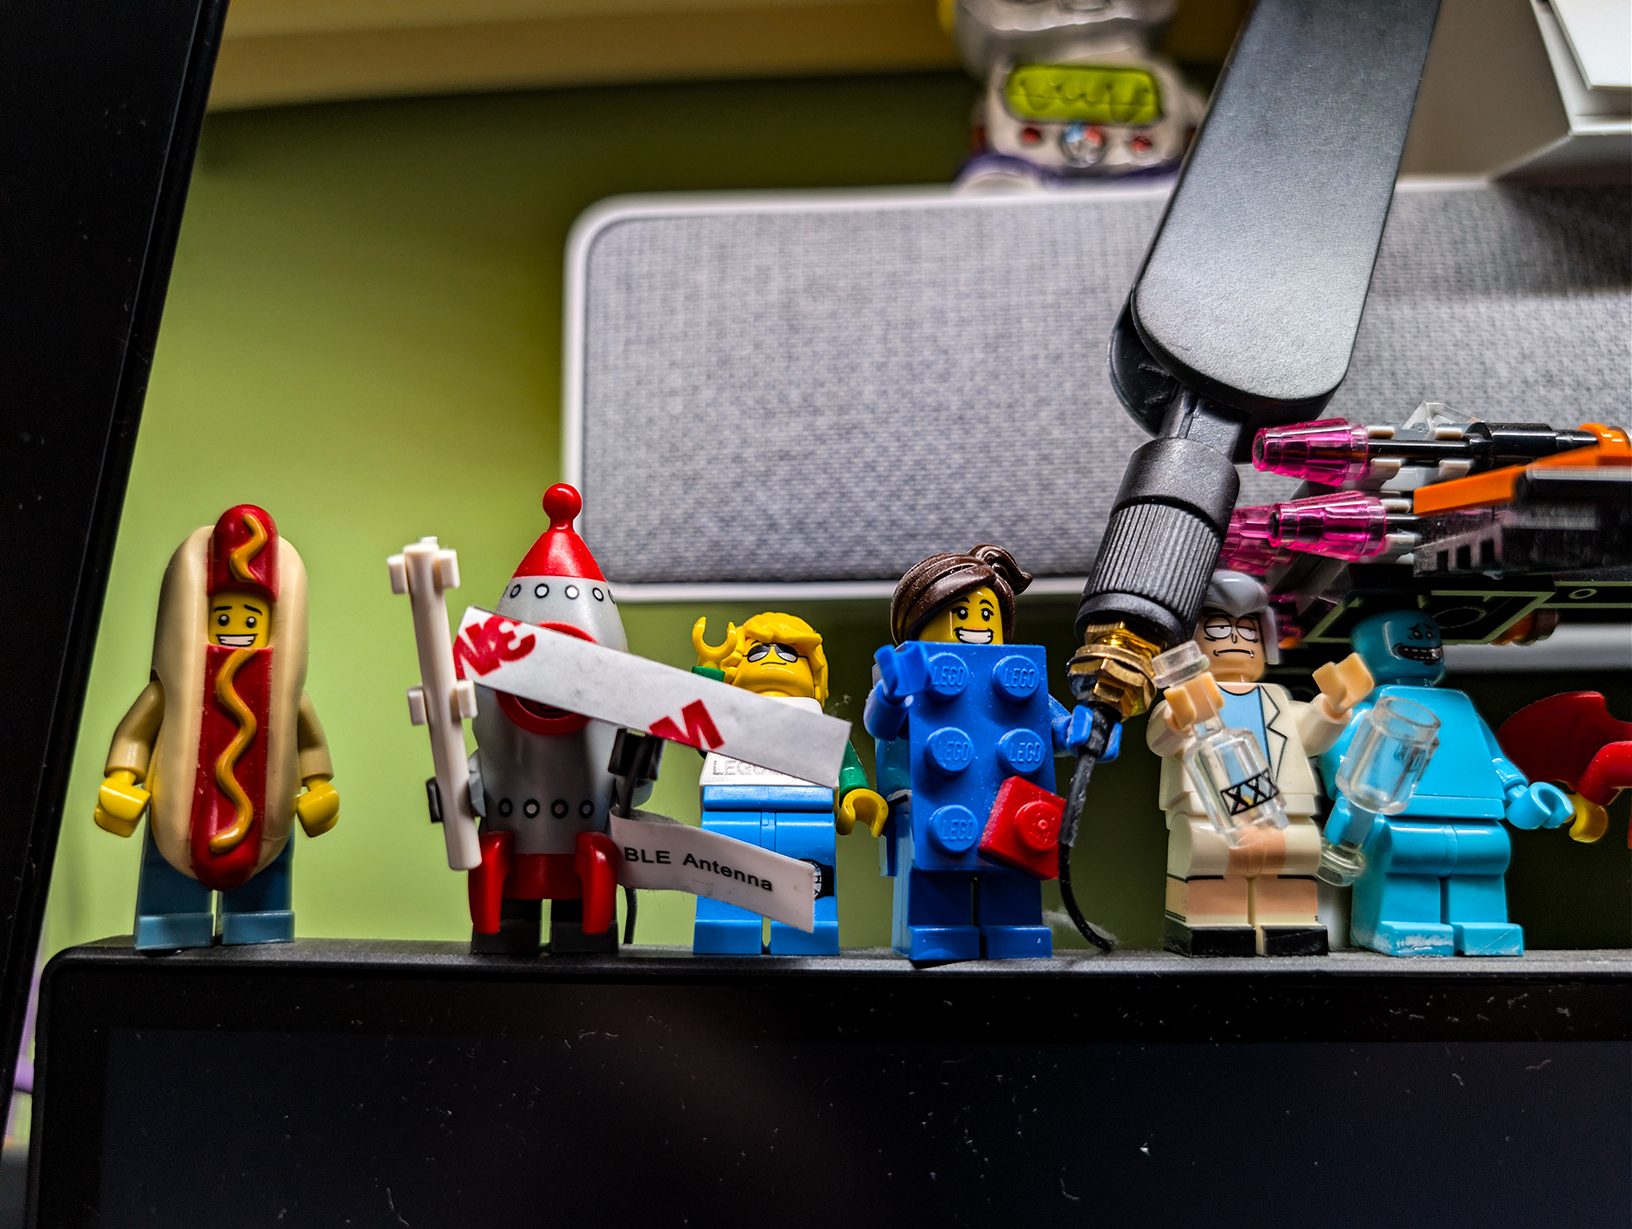
It lives upstairs and the charger is downstairs, Bluetooth signal is marginal. Despite the distance, floors, pipes and cables between the two it works surprisingly well, the Bluetooth connection occasionally drops. When I print a case for the RAK I'll move it, until then it's cool where it is with the antenna being held by a lego mini figure! Most important of all it hasn't upset the Ikea Thread, so all good.
Naturally, I was configuring it in the dark (time had ticked on and the room lights had turned themselves off) so I called the docker project Mosquirro. A fine typo, and some mistakes are too good to correct, smiley face.
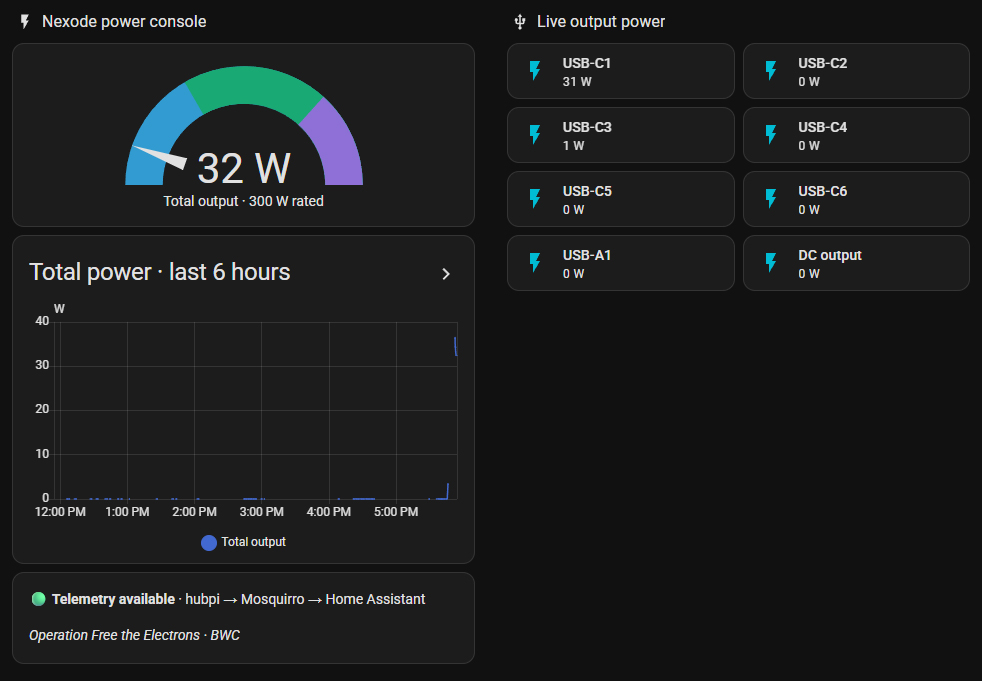
The first proper Home Assistant sensor reported 38 Watts, the laptop was connected. It was working!
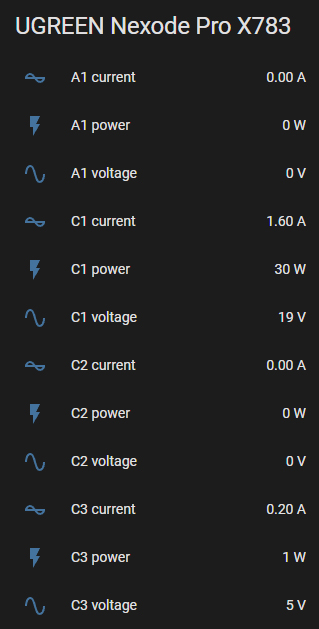
The first sensor provided total power consumption. I expanded the integration to expose power, voltage and current for all eight outputs.
24 individual measurements, plus total output, all grouped under a single Home Assistant device.
What did I learn?
AI as an engineering collaborator. Two different AI environments worked together, one driving the protocol investigation and development, the other reviewing things and guiding deployment. I made the decisions, performed the experiments and decided when I was happy. Testing rather than guessing. We ended up with 53 tests passing and validating the system on both x86 Linux and Raspberry Pi ARM64. Useful failures. Passive scanning errors, weak BLE signal, connection timeouts and Home Assistant's confusing MQTT publishing interface. Privacy and ownership. Everything stays on my LAN. If UGreen close the app or introduce a subscription, I'm cool, it doesn't go to the cloud and I don't have an account.Was it worth it?
Of course it was! Could I have installed the app, created an account and used the app, probably. But that wasn't the point. It's a charger, it shouldn't need an app & account! I'm not knocking UGreen by the way, the charger is solid, looks good, feels good, charges well. If you want a charger this one is brill, I have no issues recommending it to you, but it shouldn't need an app!I wanted my information on my Home Assistant, without relying on someone else's servers, an account, another cloud login, or an app that might vanish in a few years. The charger feels well built enough to last decades.
Along the way Penny, Naughty Penny and I reverse engineered a proprietary Bluetooth protocol, built an authenticated monitoring client, reused hubPi, deployed an MQTT broker and created 25 sensors in Home Assistant.
And I learned a bit too.
The charger still charges gadgets and has absolutely no idea I'm interrogating it from a Raspberry Pi a whole floor away. Which is exactly how I like it.
Operation free the electrons: mission accomplished.