Upgrading my PC
17 Nov 2025 · CPU · RAM · Thermal Paste

I use a PC daily at home, ever since I can remember I've built them (read : stuck bits together) myself. The last time I built one for me was 2018. That was ages ago, recently I've started to notice she's a bit sluggish. I'm not a gamer, but I do like to tinker with photos & videos, there's usually a few hundred browser tabs open too.
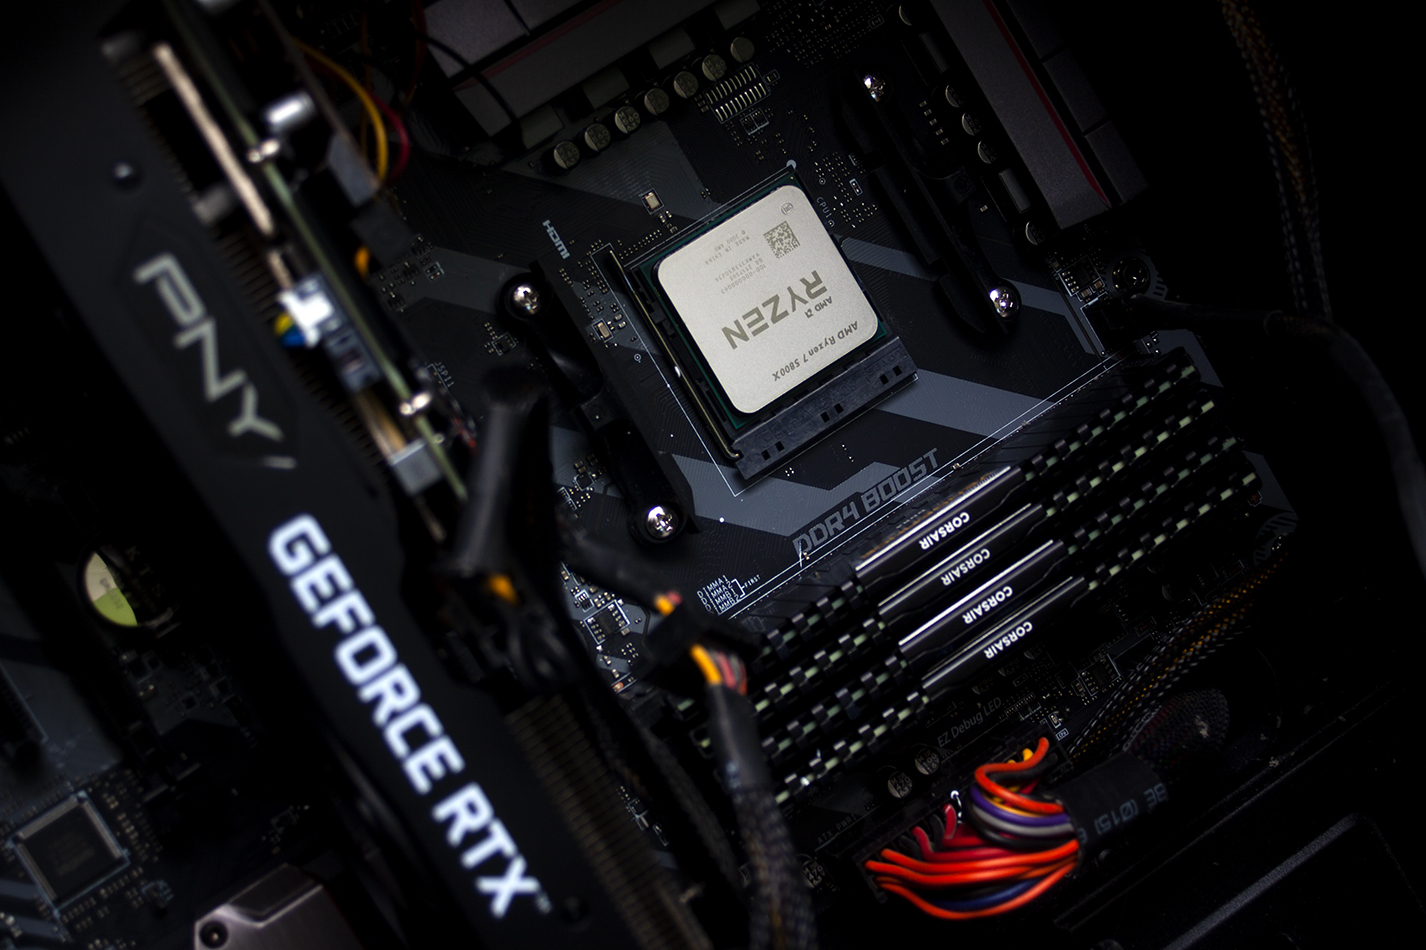
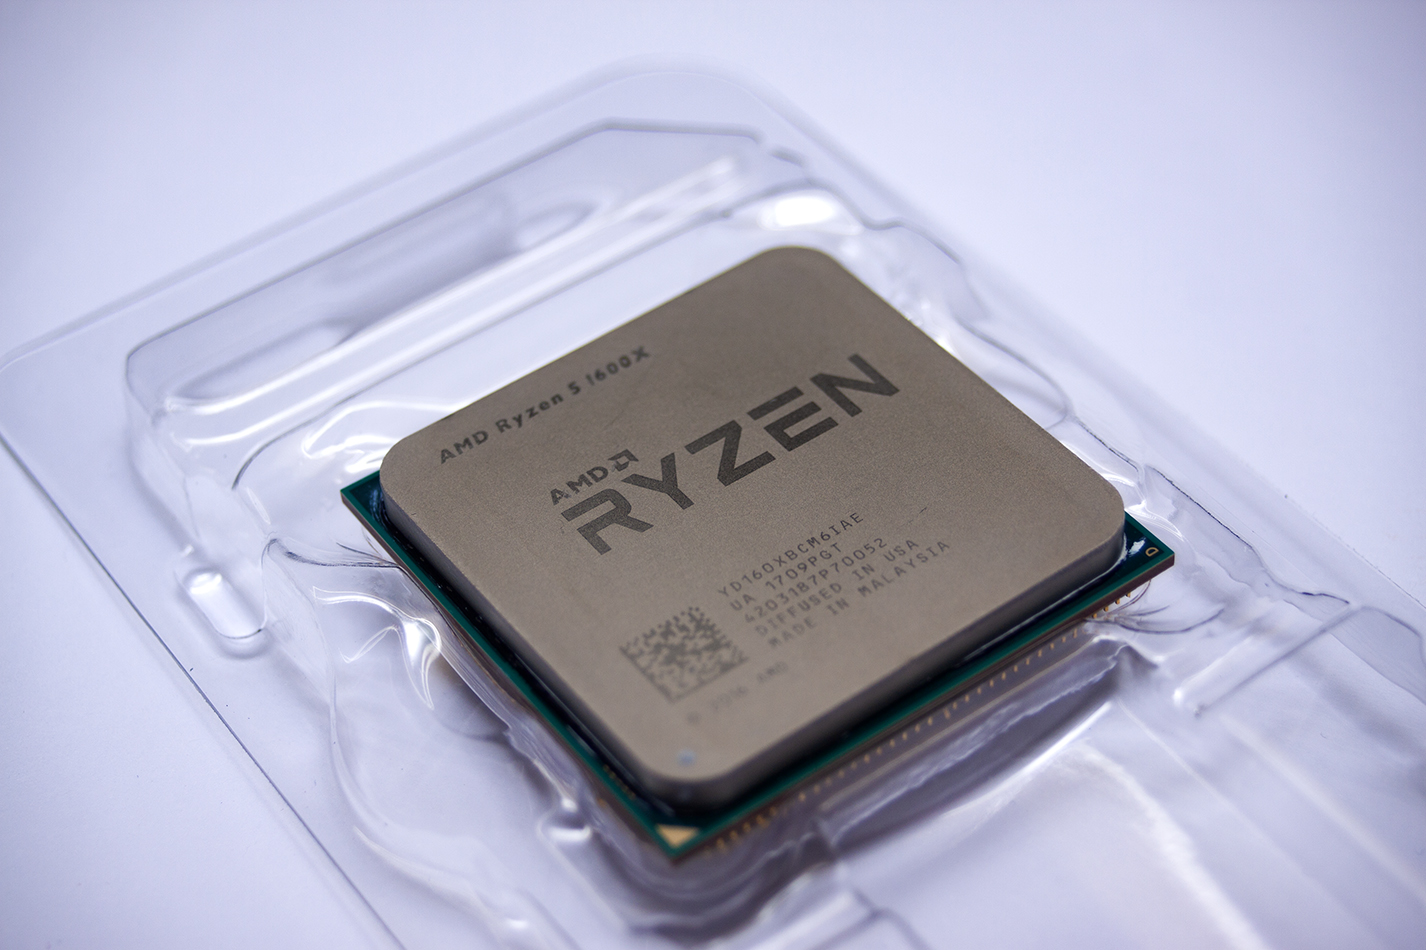
The last one had a Ryzen 5 1600x, 16GB DDR4 RAM, and an RTX graphics card which was upgraded 18 months (or so) ago. The motherboard is an MSI 350 Tomahawk, it's fine for what I use it for and by keeping it I didn't need to faff about reactivating Windows!
I did a bit of googling and with a BIOS firmware update I could stick a Ryzen 7 5000 series CPU in. There are 2 of the 4 memory slots populated, so it was as simple as plugging in 2 more to go to 32GB. A plan was formed!
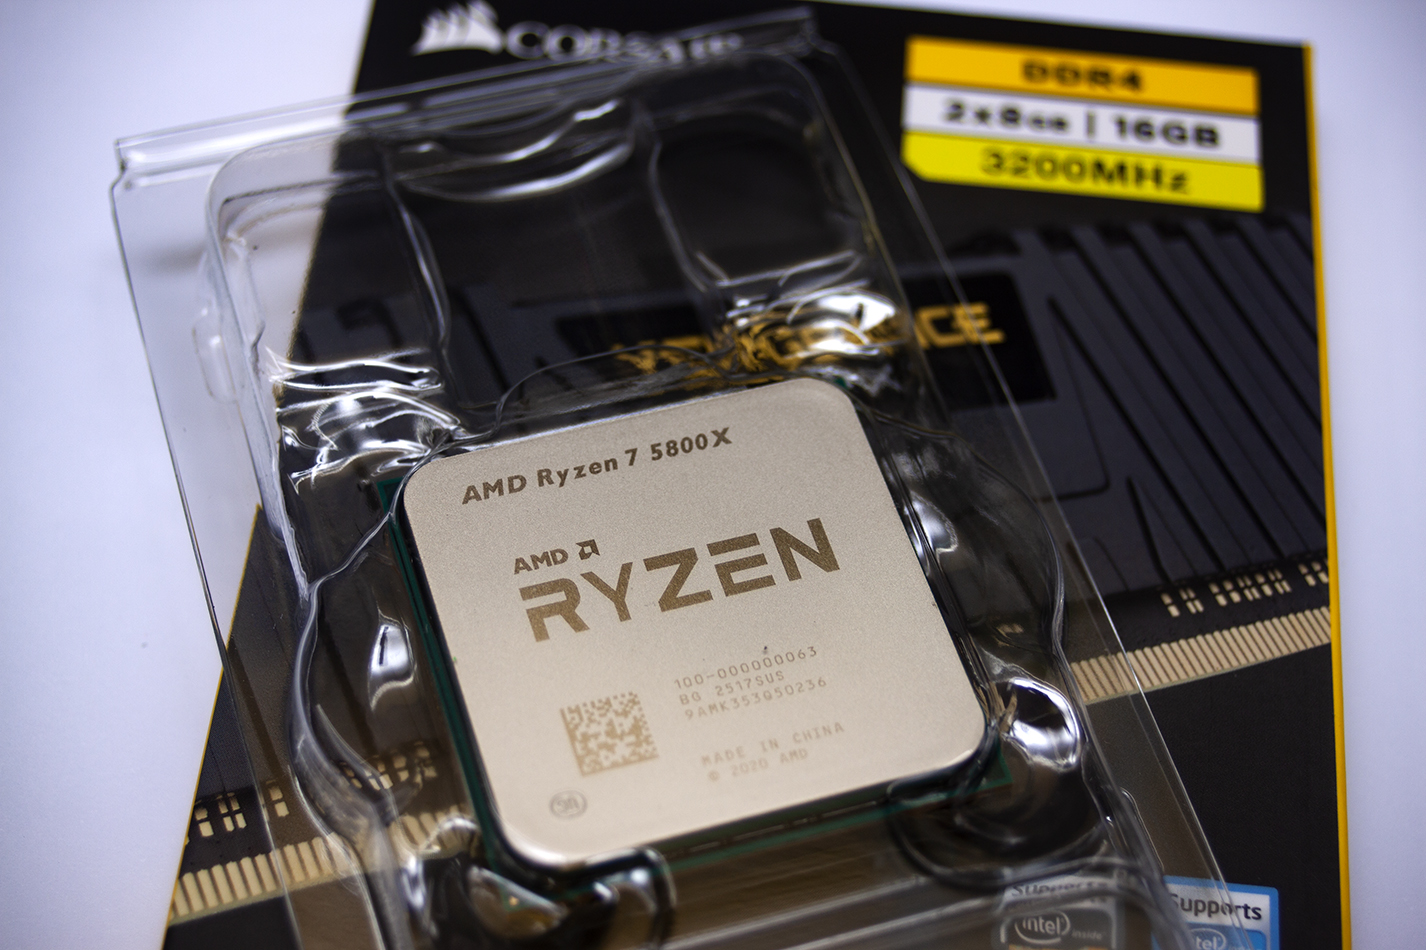
I've used Scan computers for decades, I remember when they were a cow shed outside of Bury, and now they have a royal warrant and a shiny showroom on Middlebrook retail park, so off I went to the website. I was originally going to go for a Ryzen 7 5600, an old processor, but way faster than the Ryzen 5 1600 I had in. I was on the page for the 5600 and at the bottom I saw the 5800, which although still old has a bit more umph and was cheaper than the 5600.
Add to basket.
RAM is horribly expensive at the minute, something to do with companies needing to drag more revenue in... regardless, 2 x 8GB Corsair Vengeance DDR4 modules.
Add to basket.
Step 7 & 9 will no doubt be contraversial, but it works for me. Another contraversial point will be the thermal paste I use. None of that fancy stuff they sell in IT shops, oh no. It's Servisol heatsink compound. I've used it for years and never had any problems. When I pulled the cooler off the CPU, it was still goo, it's been on it for 7+ years. I don't overclock the PC but it's on 24/7. I don't game on the PC, but it does work fairly hard every now and again. Anyway, back to my process.
- Step 0. Update BIOS firmware.
- Step 1. Clean up the dust.
- Step 2. Remove the cooler.
- Step 3. Disassemble the cooler vacuum the fans & brush & vacuum the heat sink & fins.
- Step 4. Pull out the old CPU.
- Step 5. Clean the old thermal paste from the cooler (and CPU).
- Step 6. Drop in the new CPU.
- Step 7. Apply new thermal paste.
- Step 8. Apply cooler & squish it down well, don't do the clips though.
- Step 9. Remove cooler & wipe away excess thermal paste.
- Step 10. Stick new RAM sticks in.
- Step 11. Re apply cooler, do the clips this time.
- Step 12. Slide back under desk & power up.
Before doing the upgrade I ran Cinebench and wrote down the figures. After the upgrade I ran Cinebench again and wrote down the results.
| Test Type | Before upgrade | After upgrade |
|---|---|---|
| Cinebench Single-core | 61 pts | 96 pts |
| Cinebench Multi-core | 382 pts | 849 pts |
Happy me.
Temps are good too, that CoolerMaster cooler is doing stirling work, at idle the die sits at 38 - 40C and after 5 minutes of multi thread Cinebench it's 80 - 82C with a max of 86.4C. All well within the 'normal' range for the CPU.
Update 1: BIOS Tweaking
I've done some more tweaking, curve optimisation per core & under volting. Multicore Cinebench is 855, peak temps 71C after a multicore Cinebench run. Idle is 32 - 35C. Yeah baby!Most important of all, the PC is still quiet.
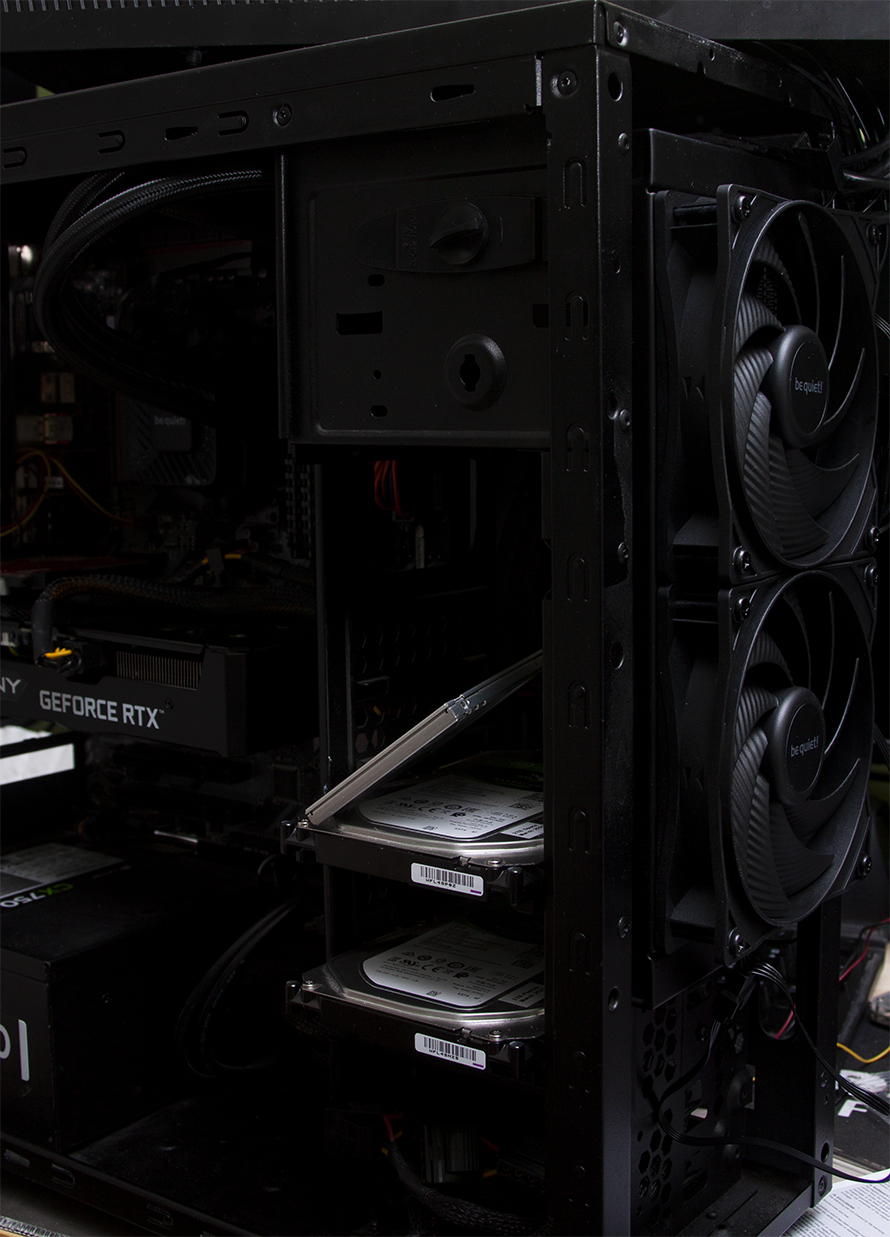
The current cooler is locked in up/down orientation, ideally it would be left/right. I've also snapped off one of the fan mounting clips figuring out if I could flip it 90 degrees, which is annoying. I've looked for kits to rotate it but I'm struggling to find one, I've bitten another bullet and ordered a new water cooler. A decent air cooler was roughly the same price with the black friday deal I got. It should be cooler and quieter, when it arrives, I'll update the numbers. I've had to modify the case slightly to get the radiator to sit higher than the CPU. We'll find out when it gets here if it all fits in! Before I built this one I had a water cooler out the back of the old one, it was cool and quiet. We'll see what this new one is like.
Goodbye old friend
With this round of new bits it's a bit like triggers broom, "it's had three new heads and two new handles".
Update 2: Water Cooler
I was woken up this morning by a knock on the door, it was DPD with the water cooler. I only ordered it yesterday, I did wonder if with it being December (probably their busy period, what with Christmas and all that) if DPD would get it in thier network and out of it as quickly as possible. Well my suspicion was correct. 0807 ding dong (me, having only gone to bed at 0330 "what the shizzle is that?") I came too and realised it was the door, I got dressed quickly and went down & was greeted by DPD man holding a box that was way bigger than I expected.I went back to bed, hoping to snooze until 10ish, but knowing that the final piece of the upgrade jigsaw was in the office I couldn't. I got back dressed and cracked on.
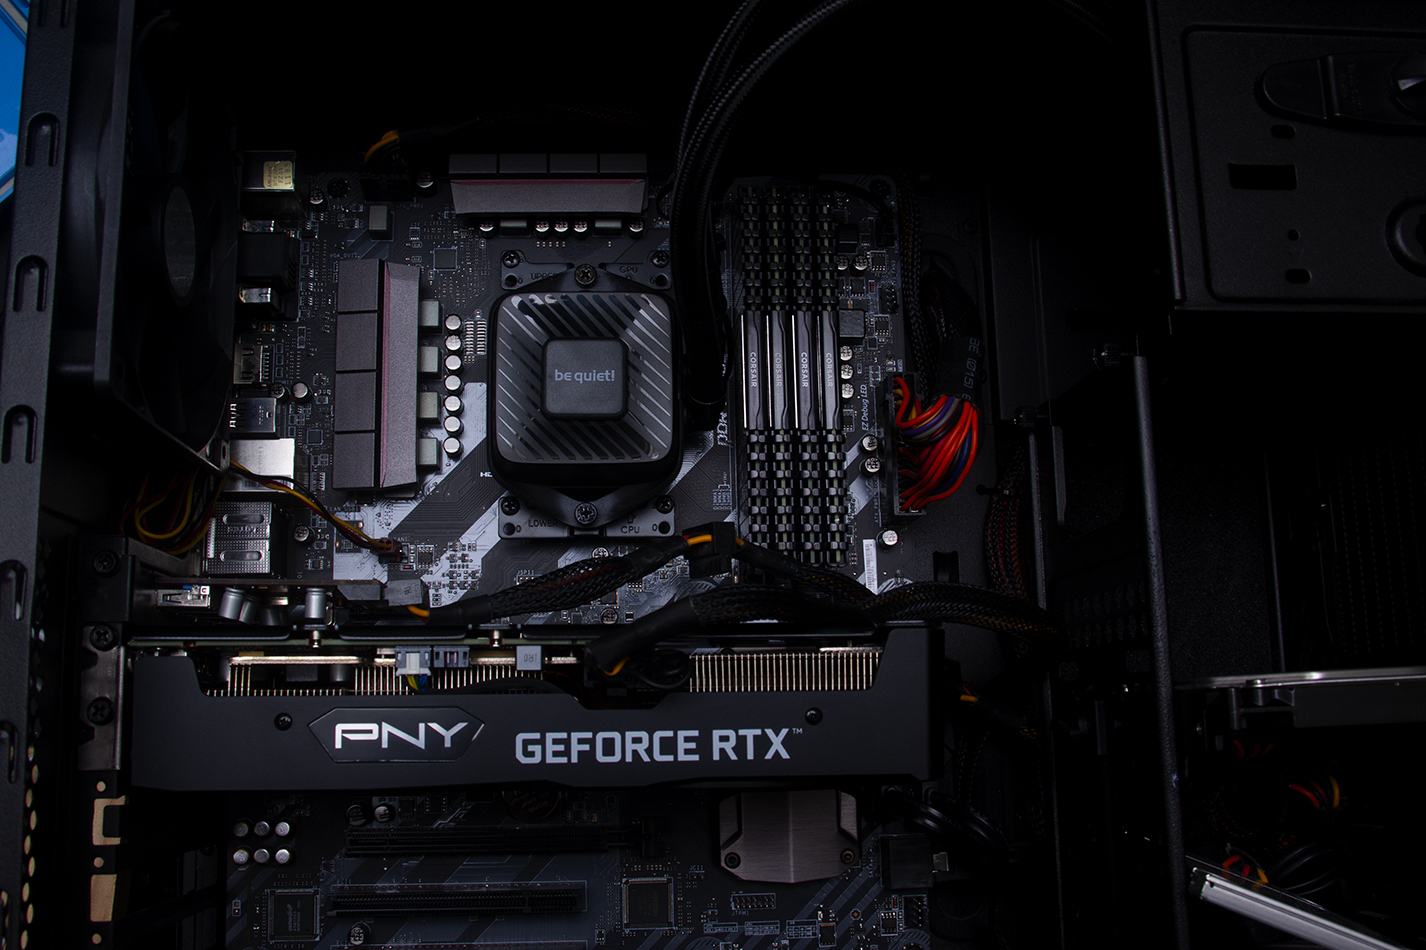
The old cooler was creating a hotspot round the graphics card, nothing too naughty, but now it's significantly cooler. The hottest thing in the case now is the heat spreaders on the power caps. I'll get to them if they become a problem.
I've continued to tinker with the tune, couple of tweaks to the curve optimisation for each core, faffing with precision boost overdrive and some ram power & clock tweaks on the graphics card. The results are spot on.
| Test Type | Before water | After water | Temp air | Temp water |
|---|---|---|---|---|
| Cinebench Single-core | 61 pts | 97 pts | 62C | 49.4C |
| Cinebench Multi-core | 855 pts | 866 pts | 71C | 54.9.7C |
| Cinebench Multi-core after more tweaking | N/A | 915 pts | N/A | 62.7C |
| Test Type | Score | FPS | GFX Power | GFX Temp |
|---|---|---|---|---|
| PhysX4 GPU – medium++ @2560x1440 | 4420 pts | 247 FPS | 78.803W | 64C |
| PhysX4 GPU – medium++ 10 minute stress | N/A | ~250 FPS | 79W | 64C |
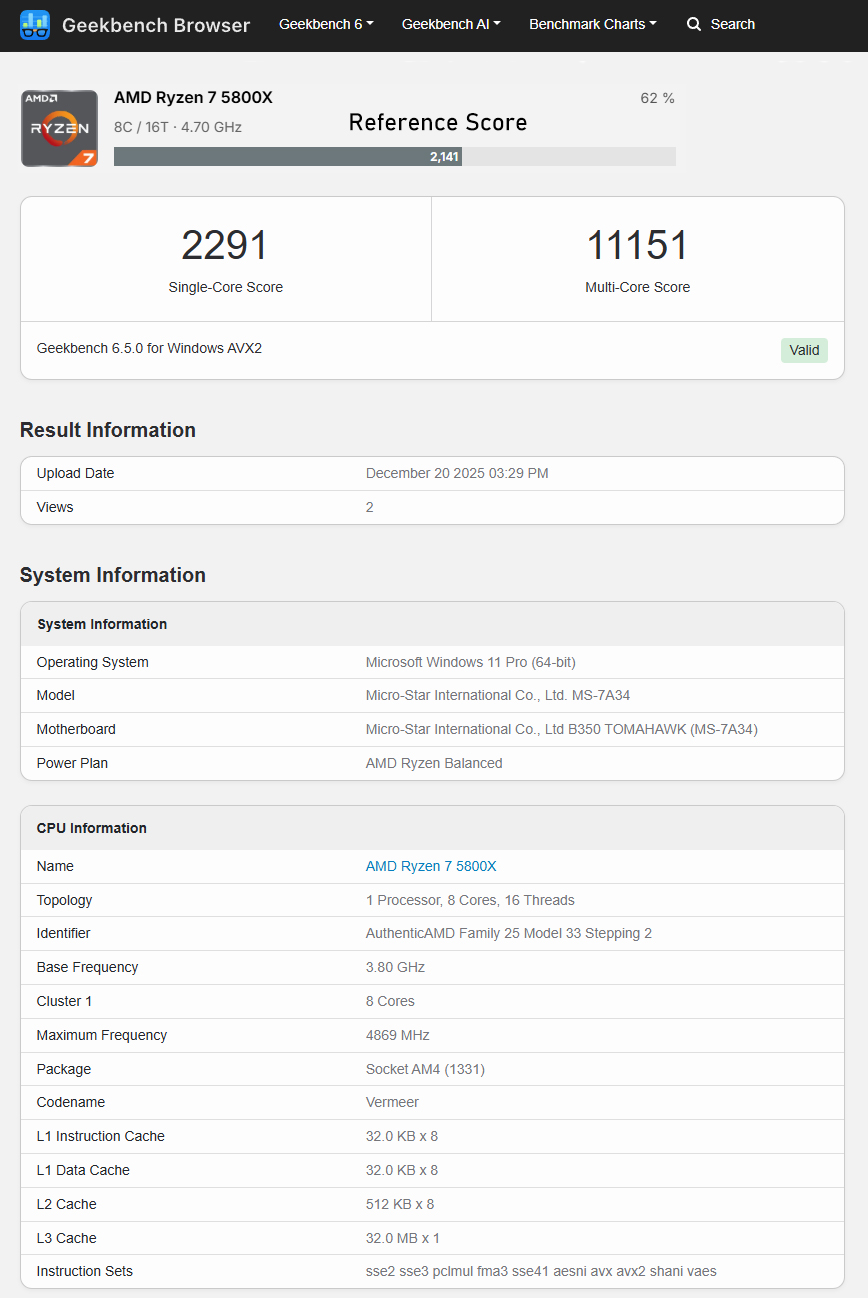
Below are the results from Geekbench, I didn't run it before so no before / after, but I have included the reference scores for a Ryzen 7 5800X. Happy tweaking.