
| Topic | WSPR / weak-signal propagation |
|---|---|
| Best for | QRP experimentation and propagation reporting |
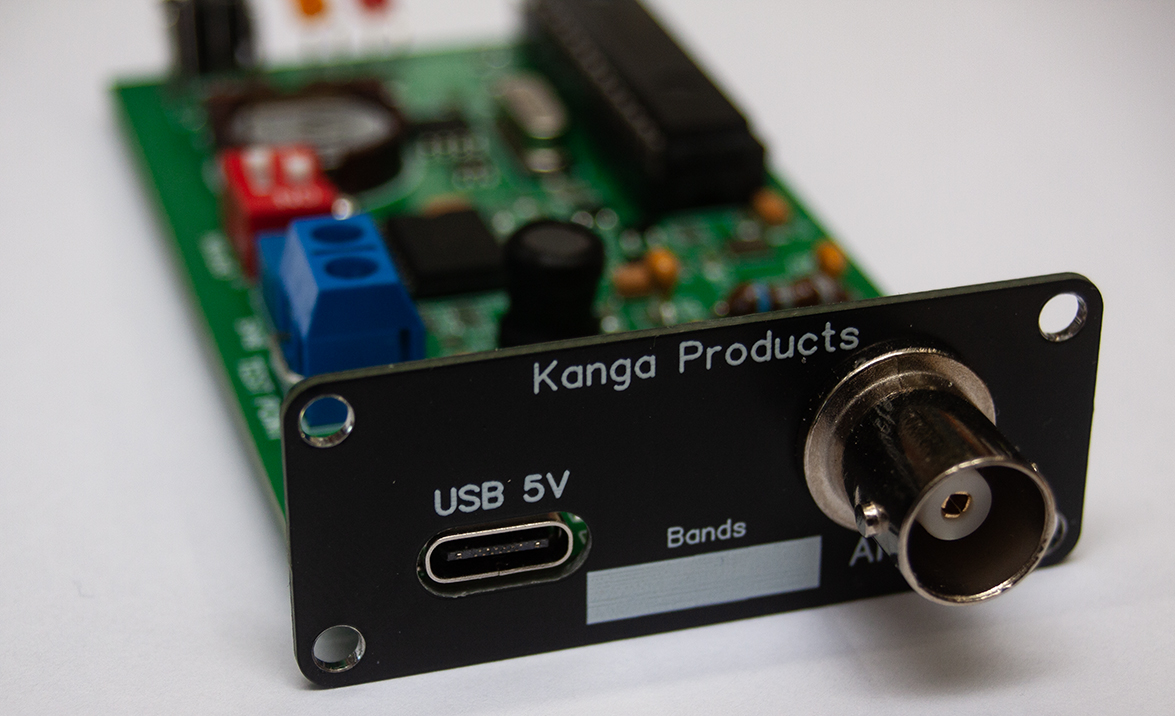
| Hardware | Kanga Whisper Mite (20m/30m), 200mW, wire dipole |
| Status | Built and tested — heard in Tasmania! |
Weatherproofing is a ziplock bag.
My friend Gareth and I went to the UK Hamfest over the weekend. Had a great time. Amongst the other stalls & exhibitors were Kanga Products. I've got a few of their kits and have always been impressed with them. So buying this was a no brainer.
I've done some WSPR in the past via my FT891 and WSJT-X. It's an interesting idea, not interesting enough for me to dedicate a radio, antenna and laptop to it 24/7 though. I saw the Whisper Mite on the Kanga products stand, had a chat with the couple running the stall and got a kit.
What is WSPR?
WSPR stands for Weak Signal Propagation Reporter, it's a clever digital mode developed by Joe Taylor, K1JT. Rather than a conversation, WSPR sends out digital messages containing your callsign, location and transmitted power.
Receiving stations round the world listen for the messages, decode them and upload their reports to the internet. You can then look at a map to see who's heard you, where they are and how strong your signal was.
The clever bit is that WSPR can decode signals that are far too weak to hear. Which means that even a ridiculously low-powered transmitter can be heard thousands of miles away.
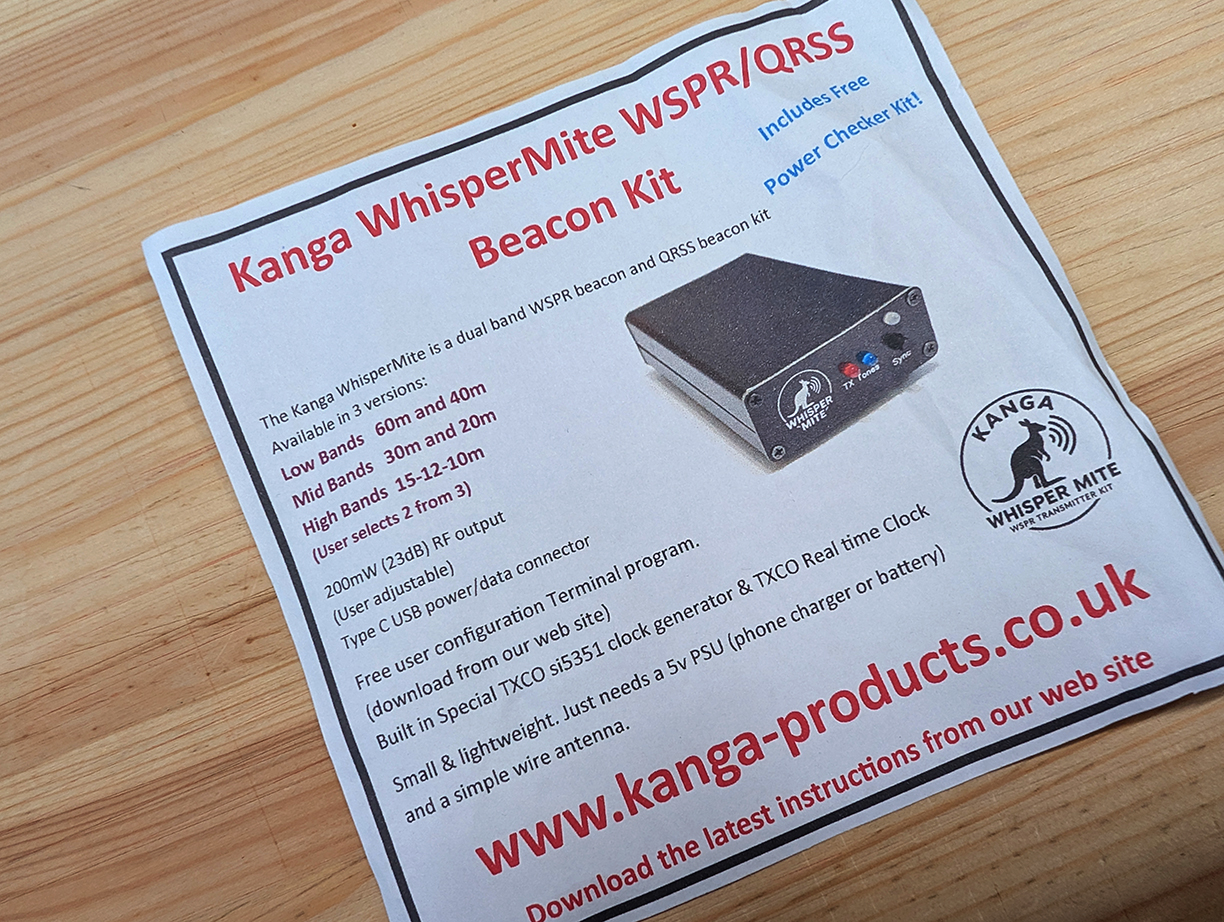
The WSPRmite is a little standalone WSPR and QRSS transmitter kit. Mine is the mid-band version, covering 30m and 20m. It's designed to run from a simple 5V USB supply and, once configured, doesn't need a computer connected to it.
Inside is a little microcontroller, a stable frequency reference, some RF circuitry and a low-pass filter to keep the output signal clean. There's also a real-time clock with battery backup, because WSPR transmissions need to be accurately timed. Nothing particularly exotic, but combined with some software, it's a clever little thing.
And best of all, you get to build it yourself.
The bit I was surprised by
Saturday night was a write off (Wigan 6 - 33 Wakefield) so it was Sunday before I started to build the kit. I was pretty disappointed with the instructions with the kit.
They are confusing and not written in a logical way. The build, configuration, tuning and testing process is spread out over two documents without signposts from one document to the next, the other kits I've built were not like this so I was surprised.
It's not a tough build, and the surrounding processes are straightforward and I'm confused as to how the Kanga team missed so hard with the write up. My version of the build / setup manual is included below if you have a kit and also hate the included instructions.
M0MNF WSPRmite Setup Guide (Word document)
Anyway, that said, the kit itself is good.
The build
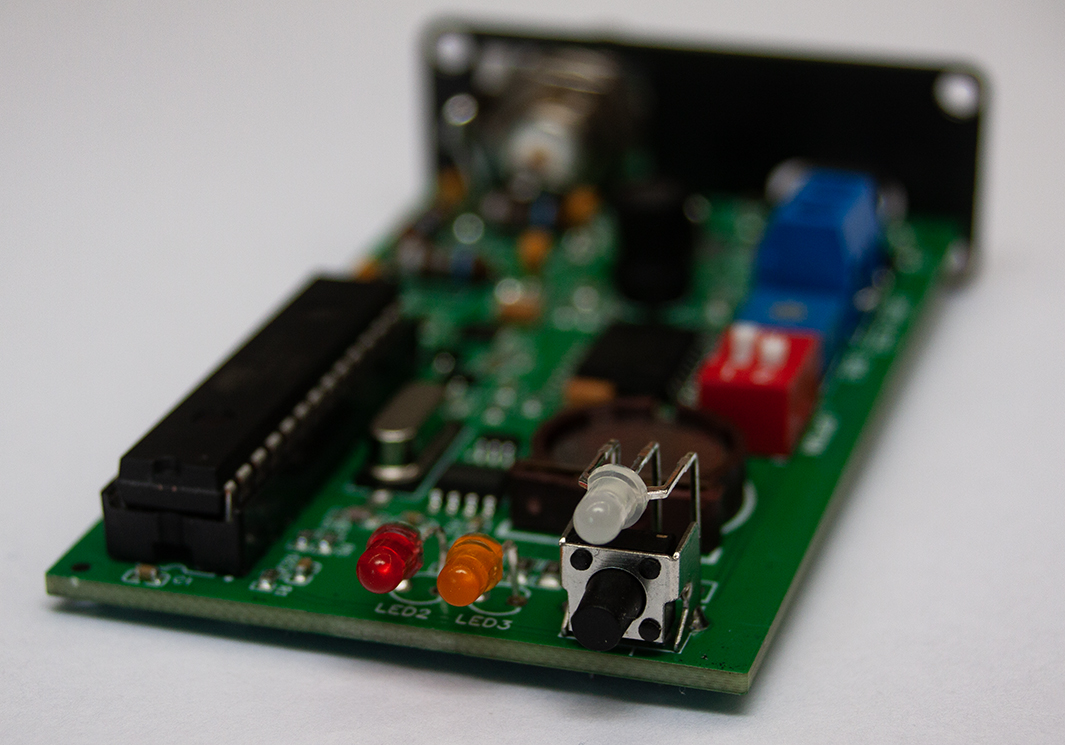
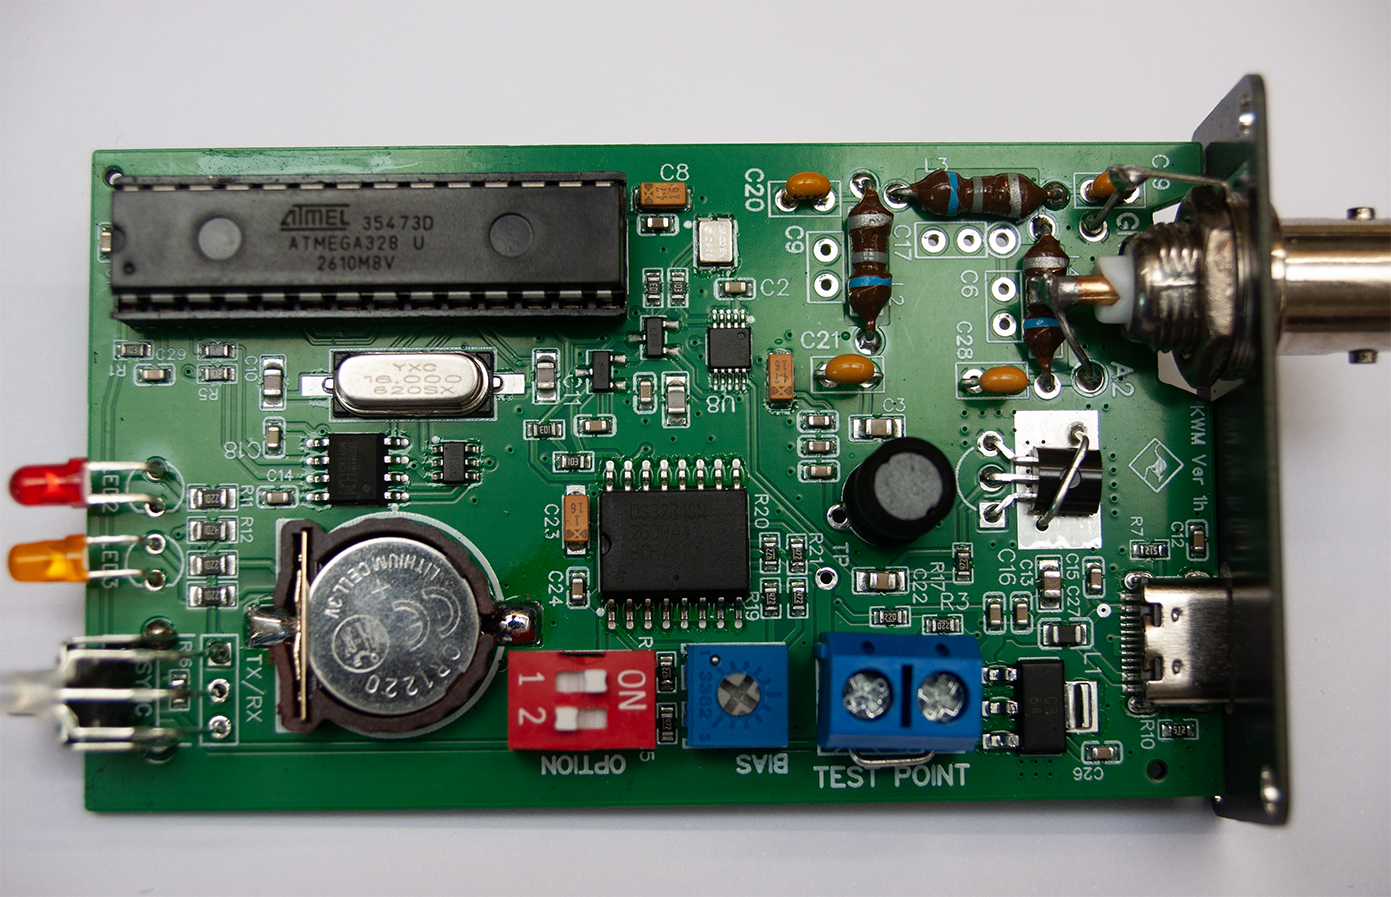
The main board is mostly populated out of the box (bag). There's a choke inductor, 3 LEDs, a button, a battery holder, a 2 position DIP switch, a pot, a FET and a BNC socket to be soldered on. The 30 & 20m kit has 4 caps and 3 inductors. The ATmega 328 is programmed and just needs pushing into the holder.
The LEDs were the most faff, the legs need folded so the head of the LED fits nicely through the face plate and they need to be soldered at the right height, something of a 3D jigsaw. I used the face as a template, I got the red/green one on the second or third try, the red one took a couple to get just right, once I had that one, I just copied it for the orange one.
The BNC was also a bit of a faff, the tag washer needs folded and then held in position while you tighten the nut securing it to the back plate.
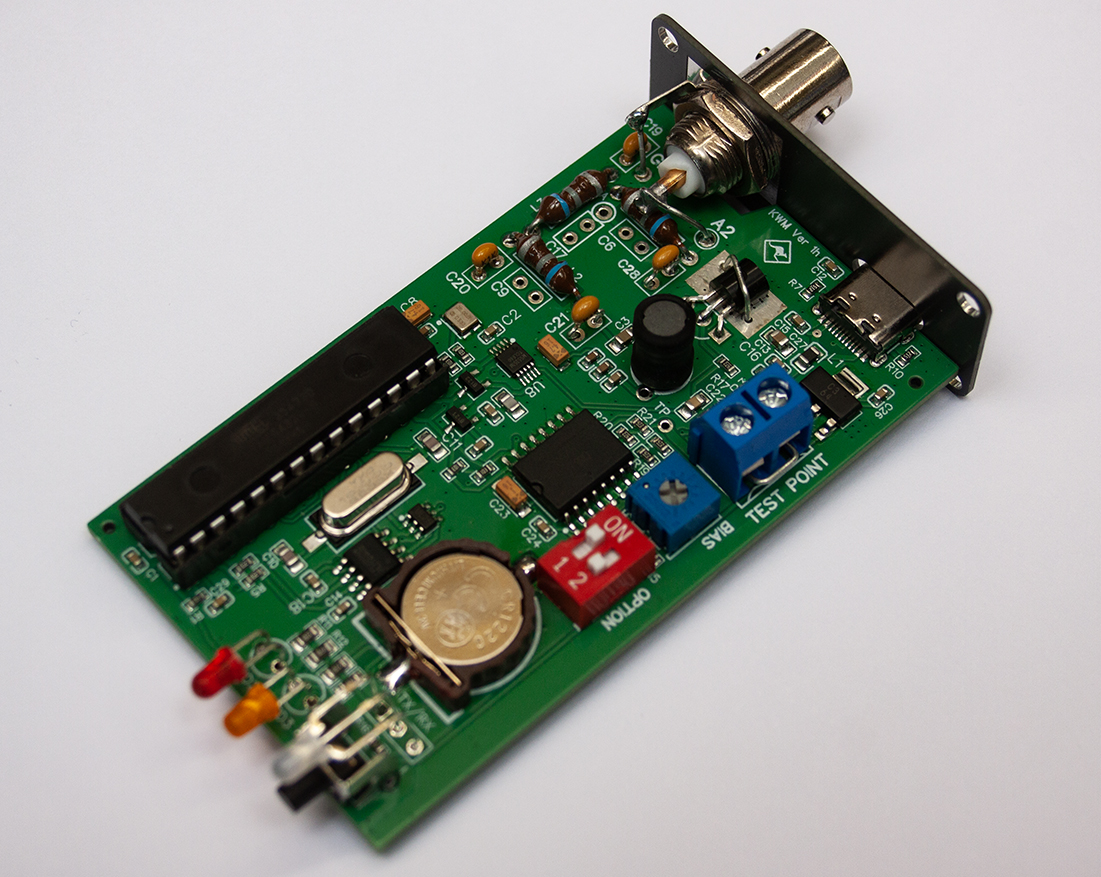
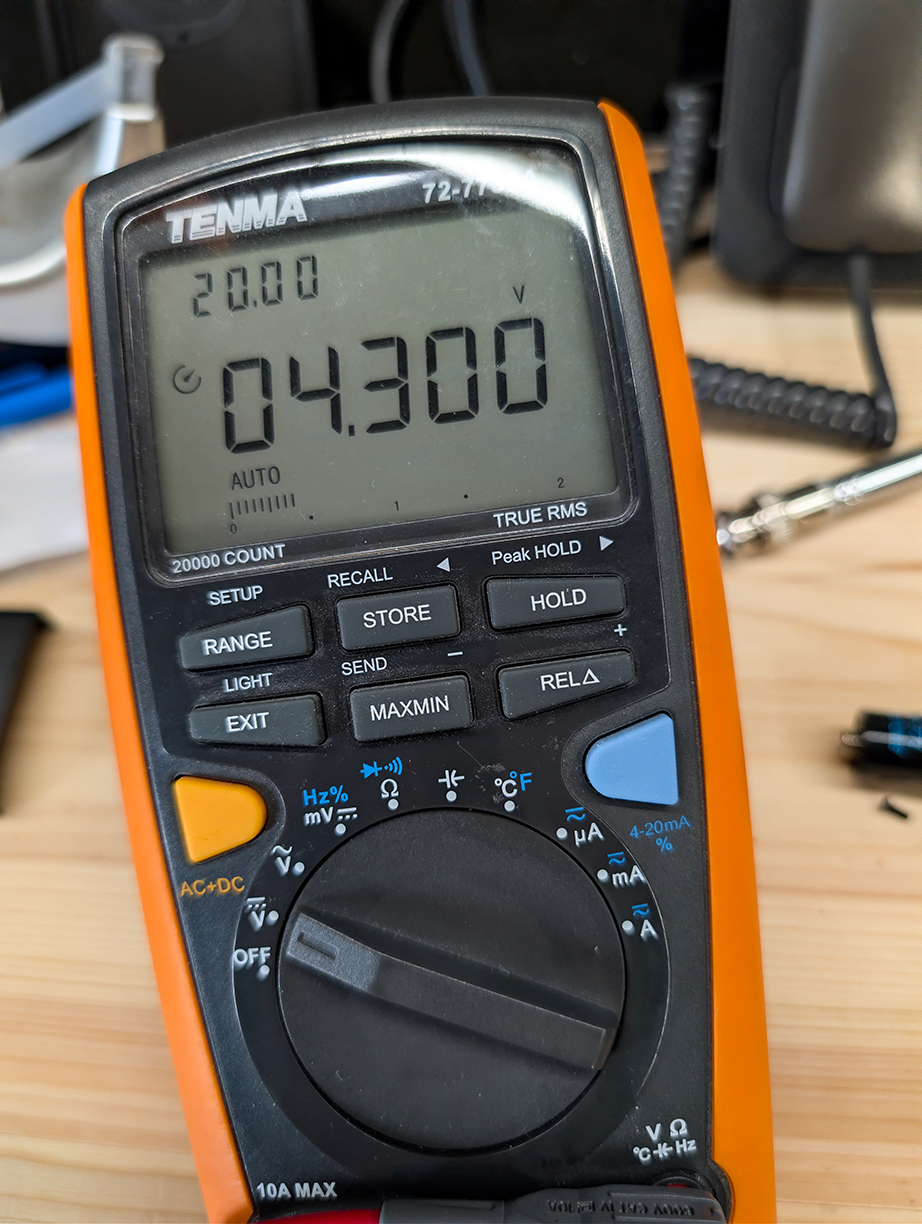
Once everything was installed, it was time to put it together and see whether it worked. I do enjoy this bit. You've spent ages fiddling about with components and jumper wires, then you plug something in and hope the magic smoke stays inside.
Initial setup
Before it can transmit, the Whisper Mite needs to know who it is and where it lives. A USB connection to a computer lets you configure the transmitter using a serial terminal.
Mine was configured with:
- Callsign: M0MNF
- Locator: IO83
- Band: 20m
- Frequency: 14.097100 MHz
- Power: 200mW (23dBm)
- Transmission interval: Every four minutes
- Random transmission timing: Enabled
I then went through the frequency calibration process. WSPR uses very narrow signals, so frequency accuracy and stability matter. Once configured, the transmitter can be disconnected from the computer and left to get on with its job.
There's something rather appealing about that. No PC, no complicated software running in the background, just a tiny box quietly announcing its existence to the world.
The antenna
Now, a transmitter isn't much use without an antenna.
I could have connected the Whisper Mite to one of my existing antennas, but that seemed a bit too easy. Instead, I decided to give it an antenna of its own. For 20m, I made a simple dipole, approximately five metres of wire on each side, and got it up into a tree... with tape.
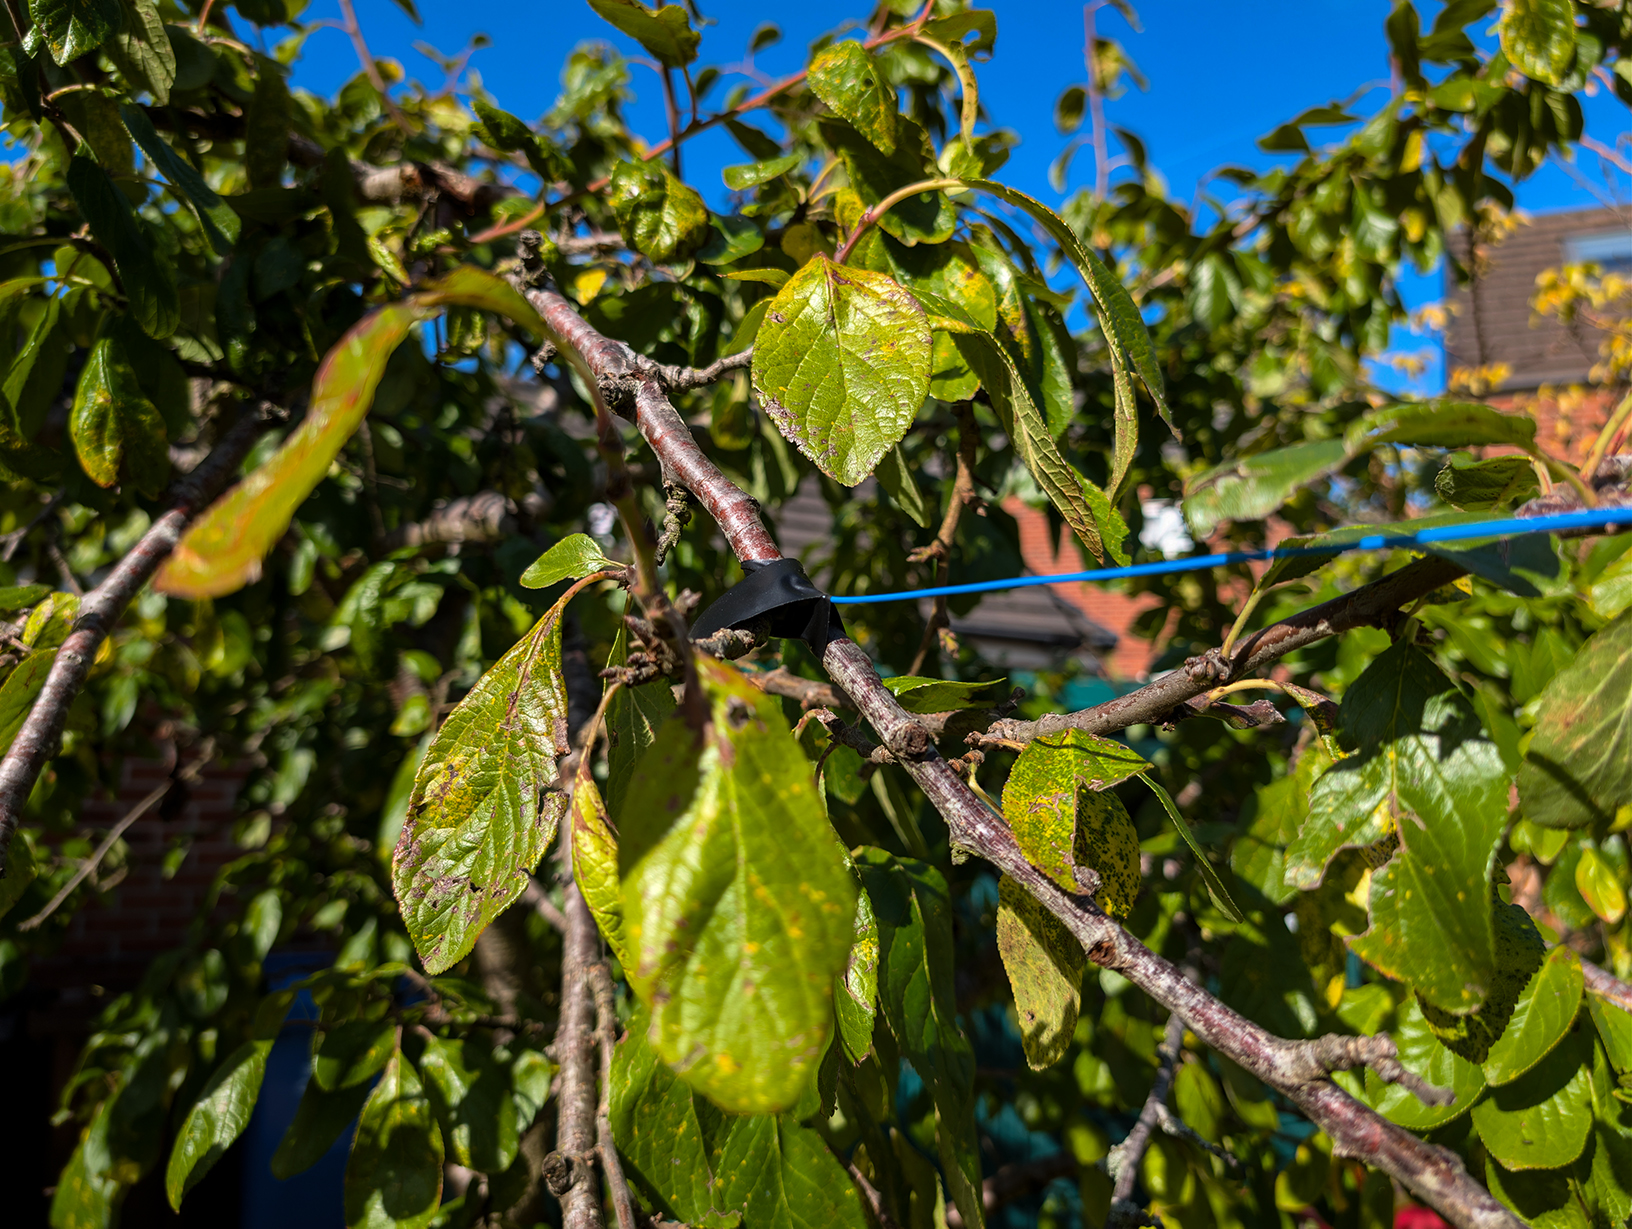
It's hardly a commercial installation. There's no expensive mast, no rotator and no elaborate antenna matching arrangement.
Just some wire, a washing line, a washing line pole, a tree and a bit of enthusiasm.
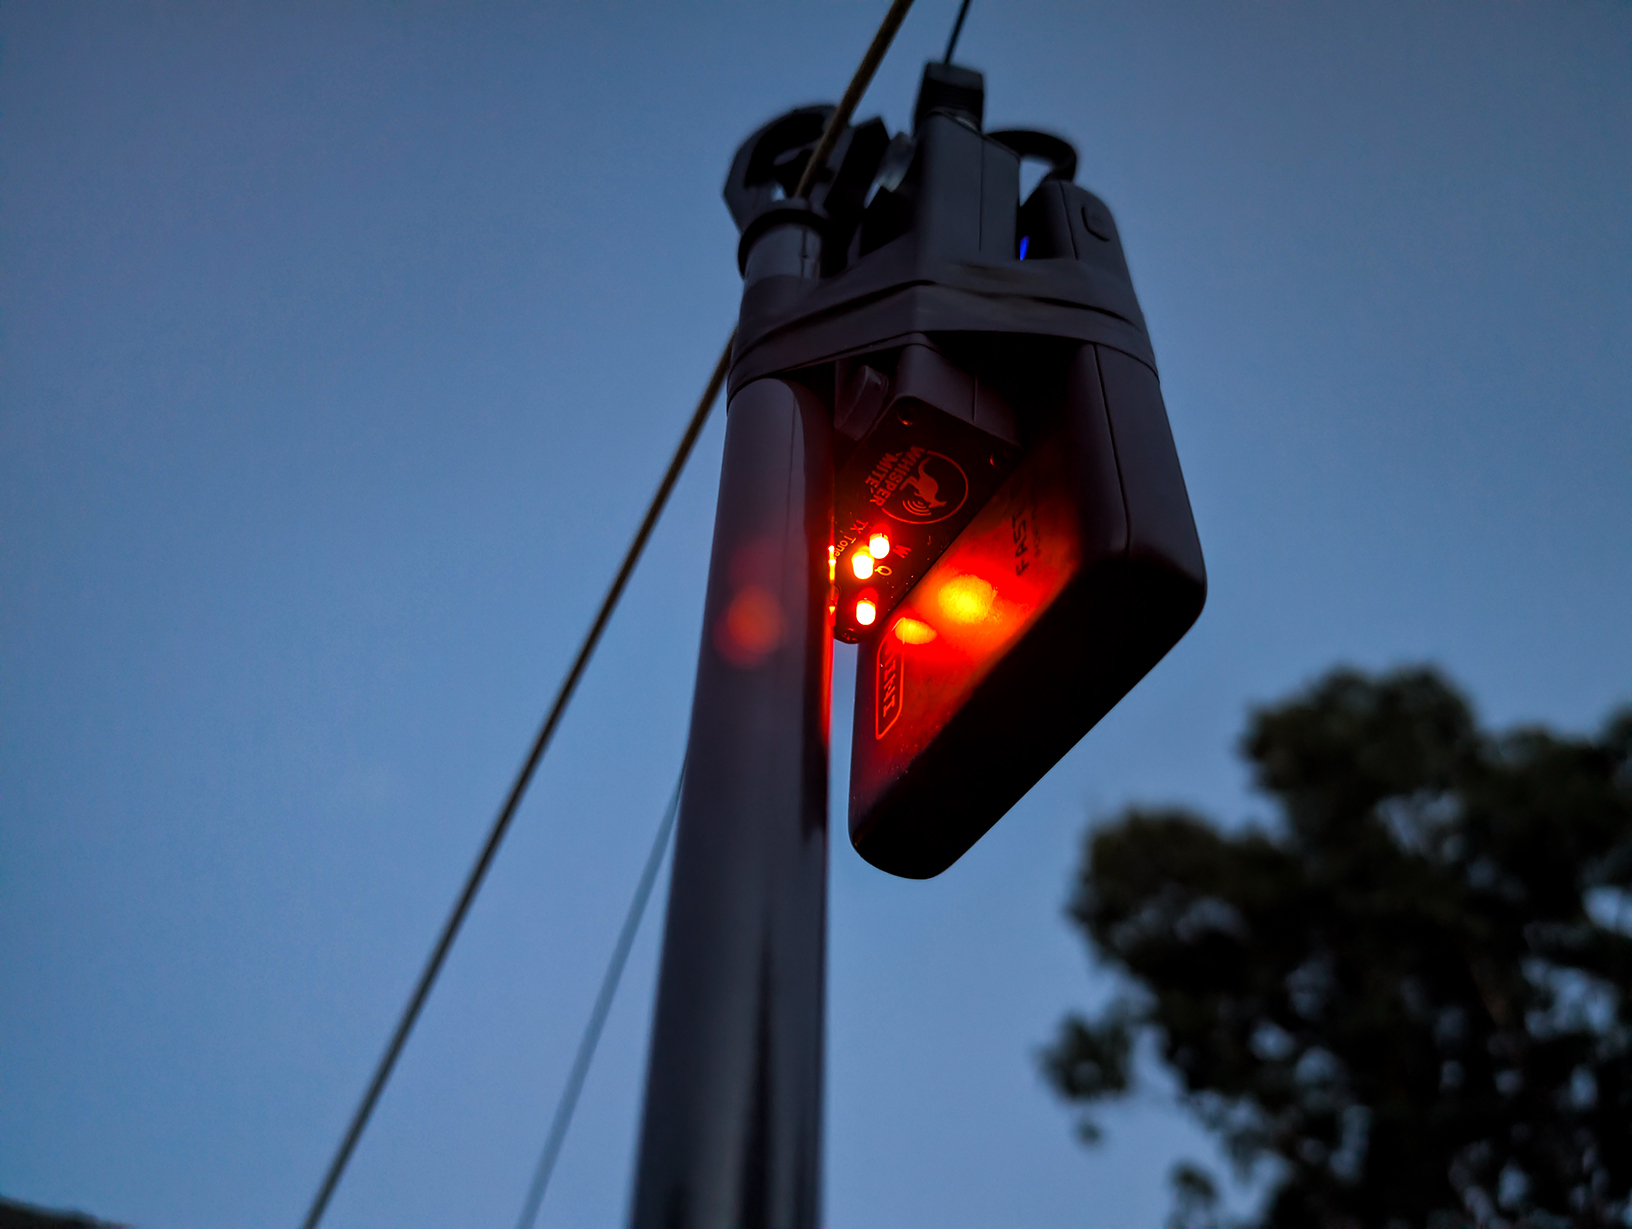
The transmitter is battery powered, which meant I could put the whole arrangement outside without needing mains power or a computer.
Weatherproofing was achieved using a Ziplock bag and some more black tape.
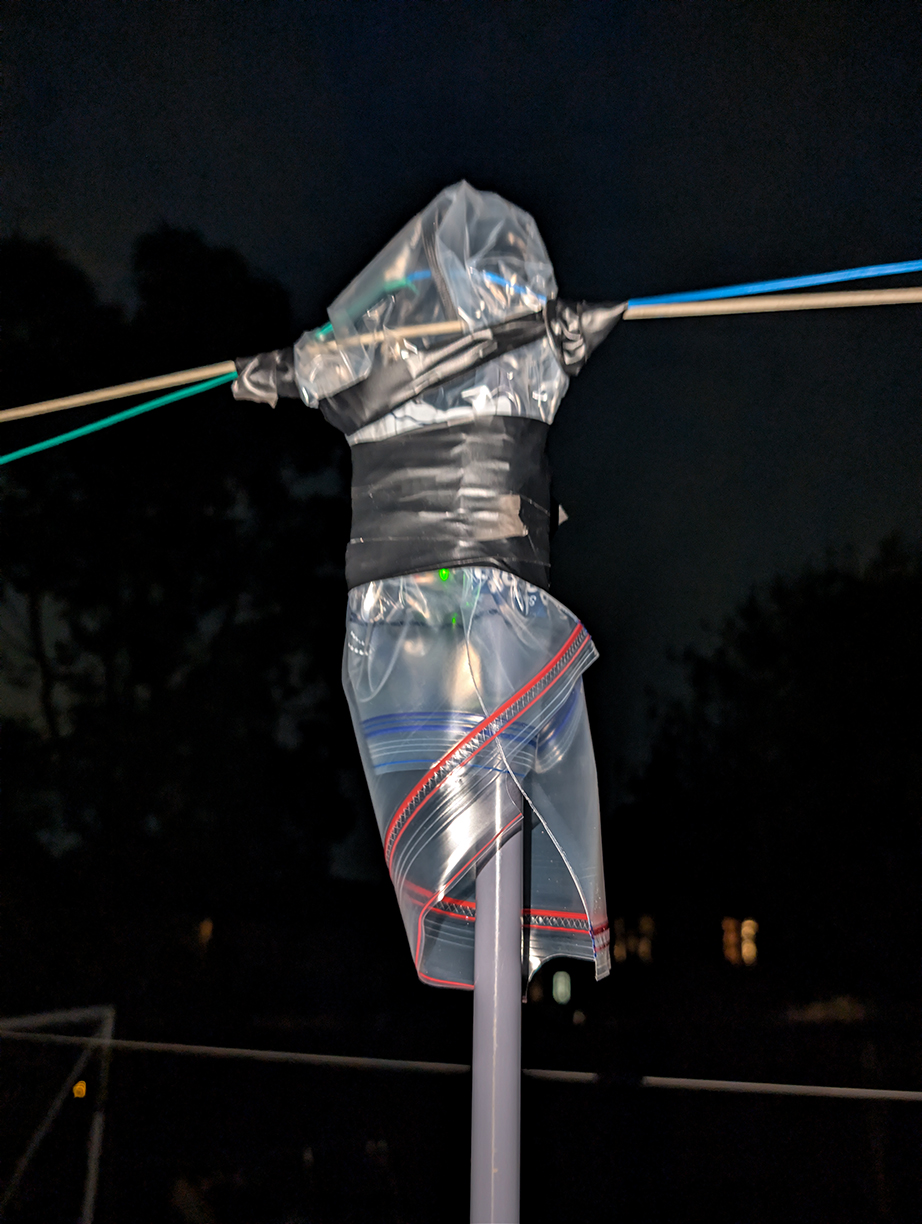
Yes, really. (I made no claims about professionalism anywhere on this site!) I've seen worse installations. Probably.
I christened the installation TreeMite.
Can anyone hear me?
With the antenna installed, the transmitter powered up and the configuration checked, there was nothing left to do but wait. WSPR transmissions last just under two minutes. Receiving stations decode them and upload the results to sites such as WSPRnet, where you can see the reports.
Initially, I was interested to see whether anybody in the UK or Europe could hear the little transmitter. After all, we're only transmitting 200 milliwatts.
Then the reports started appearing.
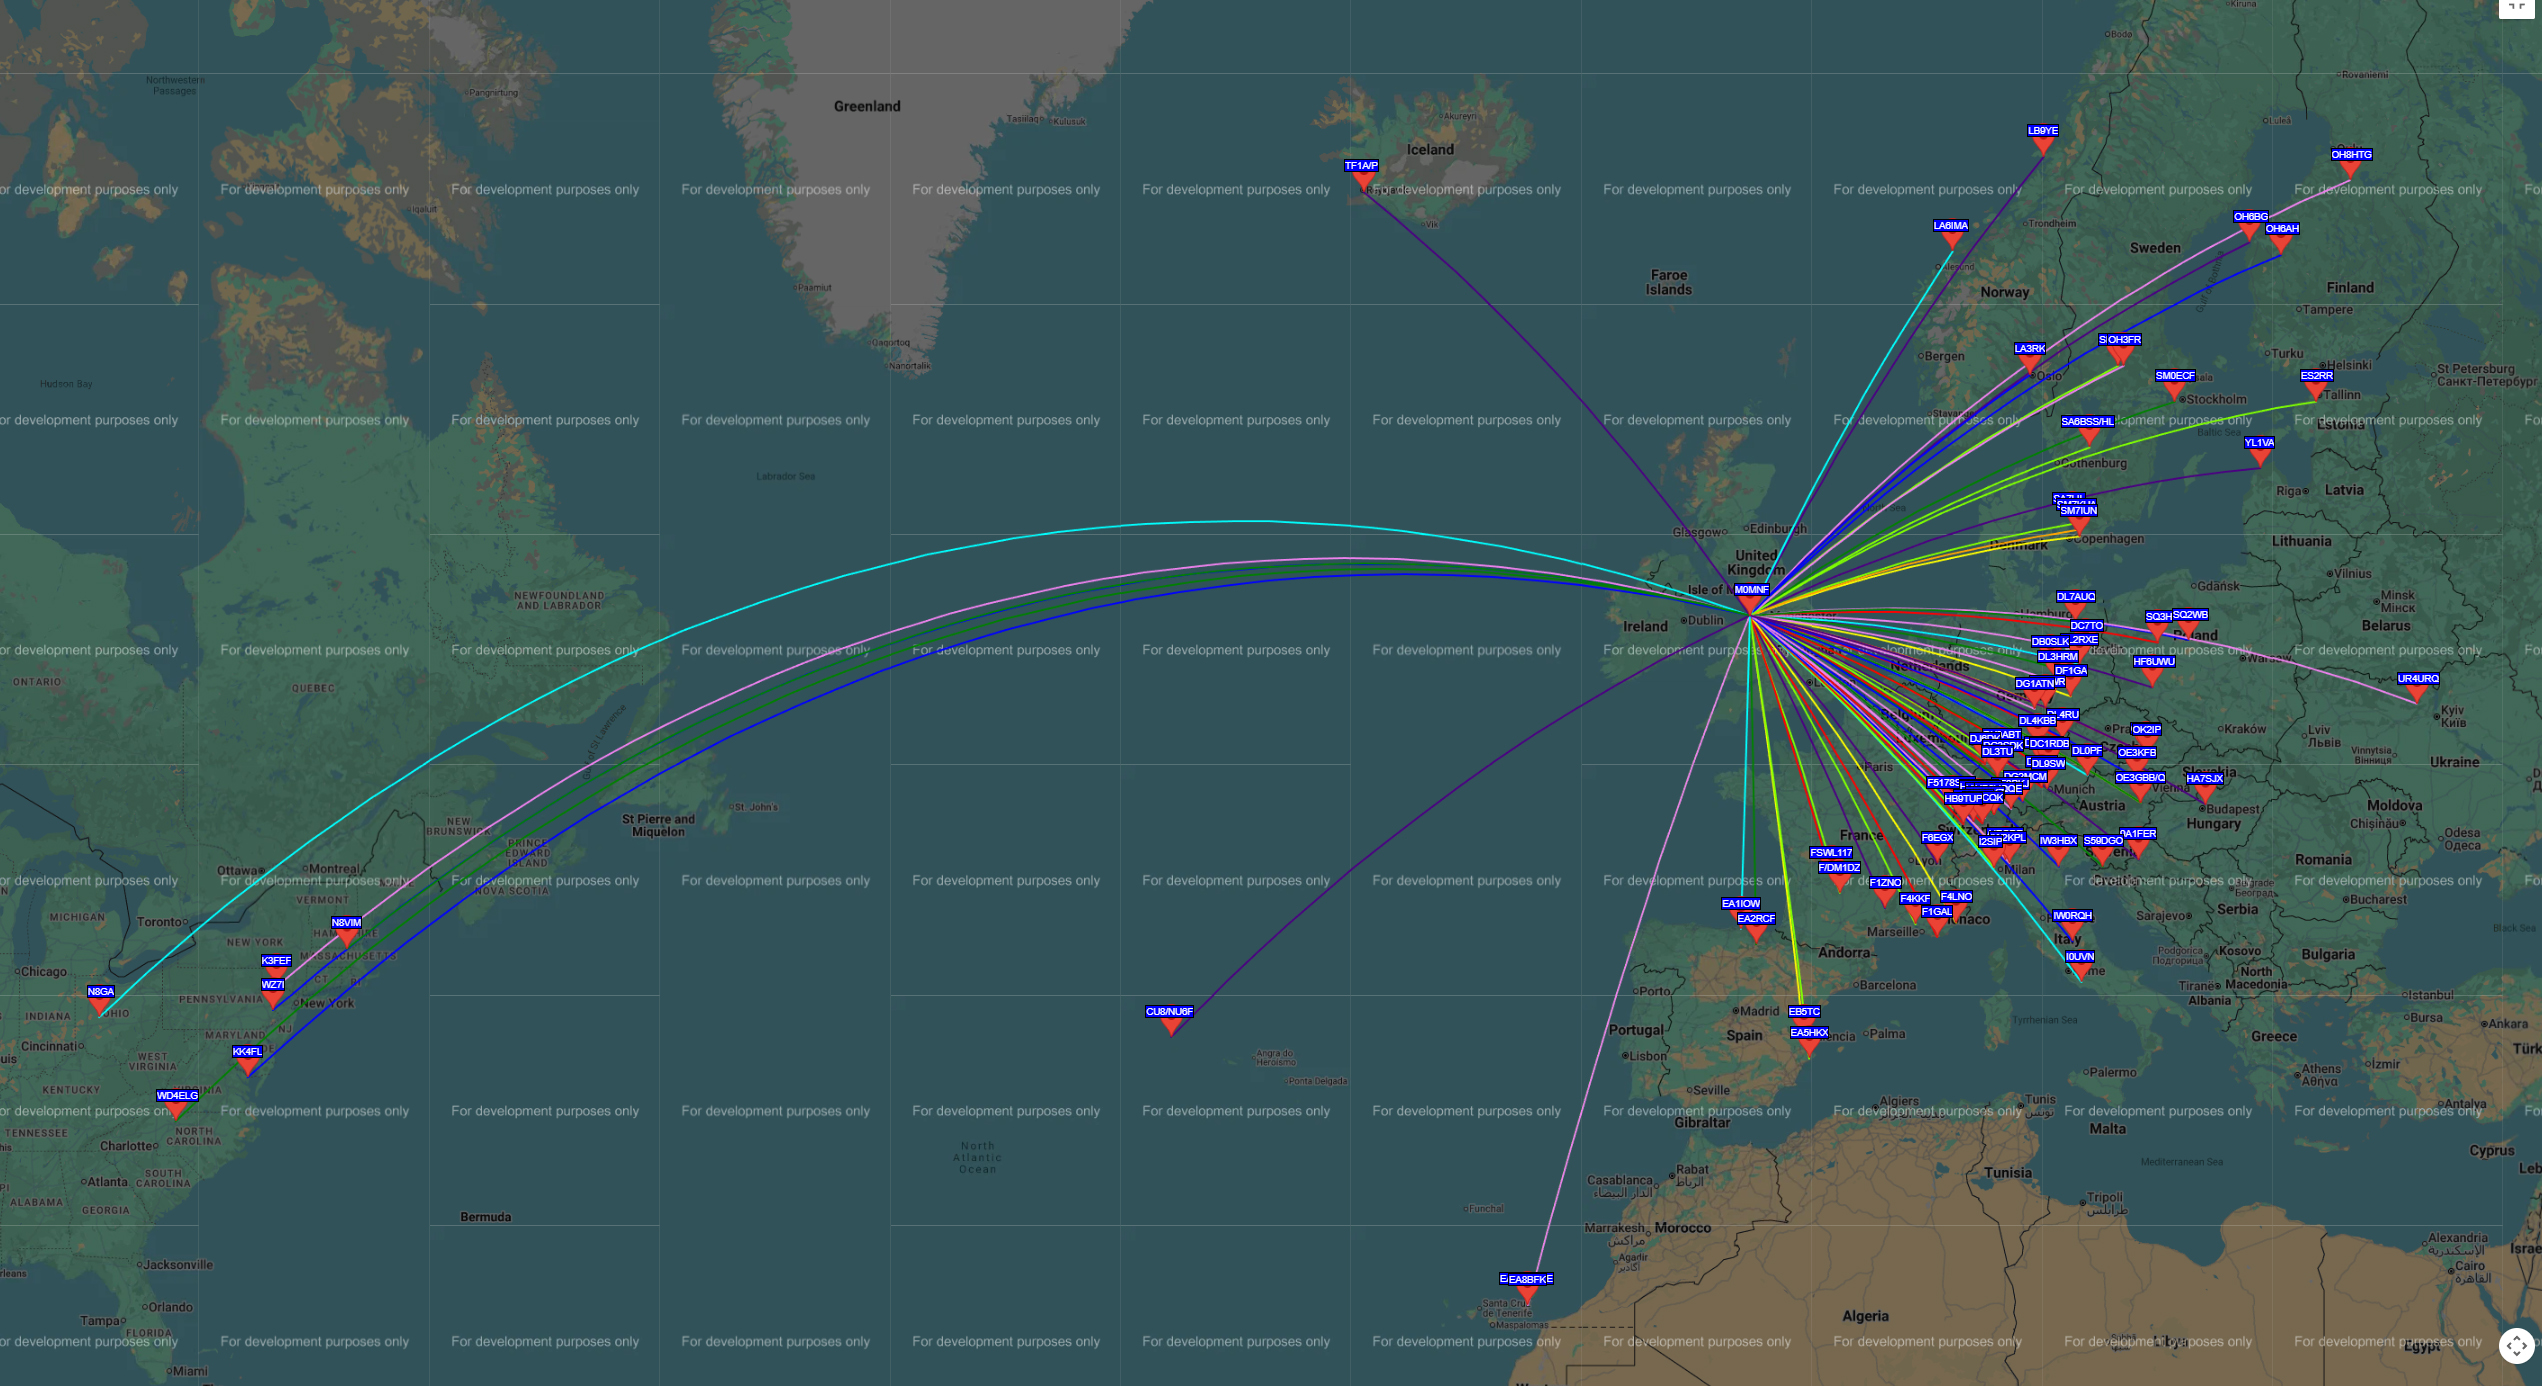
Hello Tasmania!
At some point, a receiving station in Tasmania decided to listen to 20m.
And there was my little transmitter.
VK7FLYN/2 — Tasmania — 17,408 km.
Not once, either. It decoded my signal twice, with reported signal-to-noise ratios of -17dB and -29dB.
Another station, VK5ARG in South Australia, heard it from 16,335 km away.
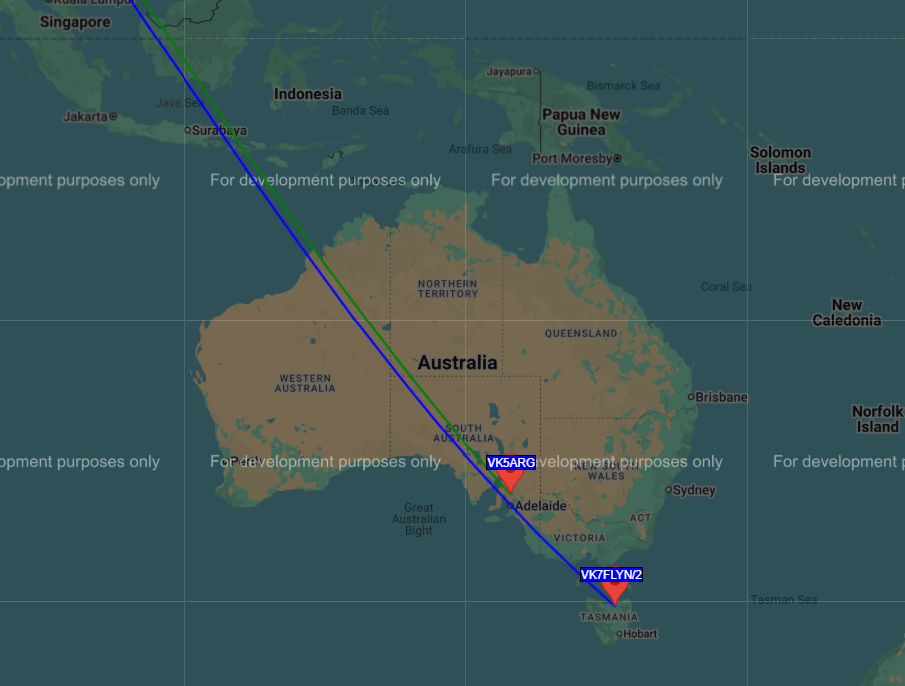
Seventeen thousand, four hundred and eight kilometres.
From a little transmitter producing one fifth of a watt.
Into a piece of wire hanging in a tree in Atherton.
That's approximately 87,000 kilometres per watt, although I'm fairly sure that's not how radio engineering works.
I don't care. I'm claiming it.
Boaty McBoatface
One of my favourite reports wasn't from a station on the other side of the planet, but from a ship.
DP0POL is the amateur radio callsign associated with the German research icebreaker Polarstern.
And there it was in the reception reports, up in the Arctic, approximately 4,429 km away.
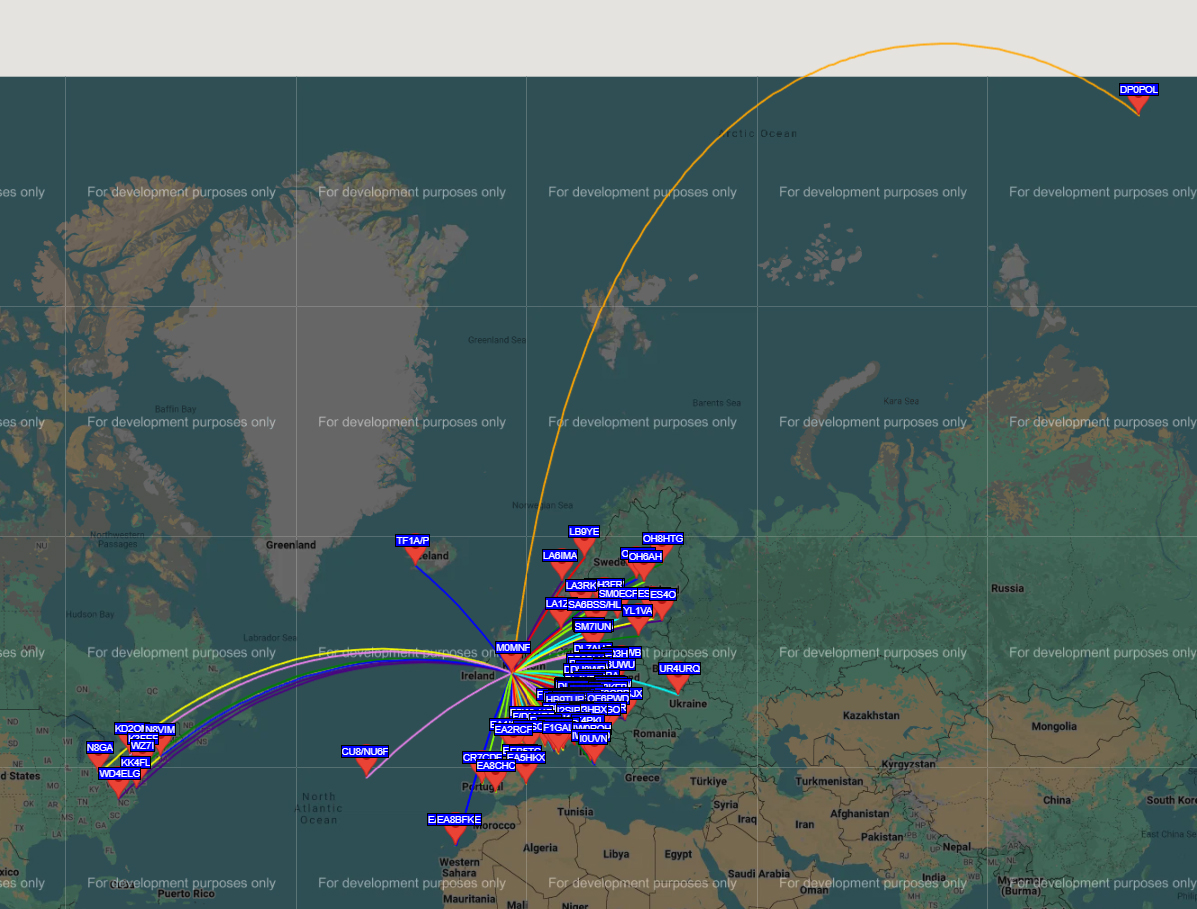
There's something wonderful about imagining a signal leaving a bit of wire in my garden and being received by equipment aboard a research ship thousands of kilometres away.
All without anybody actually having to be at either end of the transmission.
Inevitably, I started calling it Boaty McBoatface.
What next?
The obvious thing to do now is leave it alone and enjoy the results.
So naturally, I've already been thinking about changing things.
The next experiment will probably involve adding 30m capability to the antenna arrangement, potentially with a fan dipole. It'll be interesting to compare the results between the two bands and see how propagation changes throughout the day and night.
I might also improve the weatherproofing.
Although the Ziplock bag has a certain charm.
Was it worth building?
The Whisper Mite is a relatively inexpensive little project, it's enjoyable to assemble and it's a brilliant demonstration of what can be achieved with very little RF power.
It's also a nice reminder that amateur radio doesn't always have to involve expensive transceivers, big amplifiers or complicated antenna installations.
Sometimes all you need is a little box, a battery and some wire.
And a tree, plastic bag and black tape.